If you’re dealing with a garage door that’s giving you trouble, chances are, the cables are to blame. They’re one of the most critical parts that keep your door moving up and down smoothly. But here’s the deal: when they snap, your entire door operation is thrown off. This isn’t a fix you want to ignore, trust me. A broken cable can lead to serious safety hazards if not handled properly. Don’t worry, though! This guide covers everything you need to know about garage door cable replacement in a way that’s easy to follow.
Should you replace garage door cables yourself?
So, can you DIY a cable replacement? The answer is yes—but with caution. Garage Door Cable Replacement involves dealing with a lot of tension. Those cables are holding up a hefty door, and one wrong move could mean injury or damage. Here’s what to consider before going the DIY route:
- Risk Factor: Because of the high tension in these cables, replacing them can be dangerous if you’re not careful.
- Tools Required: You’ll need specific tools to get the job done safely, like a winding bar and a replacement cable kit.
- Skill Level: If you’re not comfortable with tools or you’re not sure you understand the process fully, calling a pro might be safer.
If you decide to do it yourself, be sure to watch a YouTube tutorial or two for detailed guidance. However, if you’re feeling at all uncertain, it’s worth getting in touch with a professional. Many garage door repair companies offer online quotes, so you can easily get a price estimate. Just search for “garage door repair near me currently open” to find top-rated services that can handle the job safely.
Video Step-by-step Guide to Replacing a Garage Door Cable
Let’s get into the details of how to replace a garage door cable. Follow this step-by-step guide closely for a safe and successful repair.
- Disconnect the power
Start by unplugging your garage door opener to ensure it doesn’t accidentally activate while you’re working. This is a crucial safety step. Never skip it. - Release the Tension in the Springs
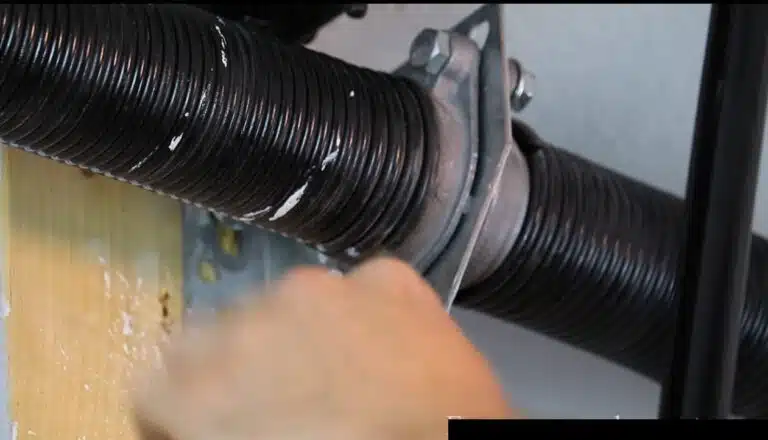
Carefully release the tension from the springs by using a winding bar or the tool specified in your kit. Be slow and steady here; this step is critical and can be dangerous if rushed. - Remove the Old Cable
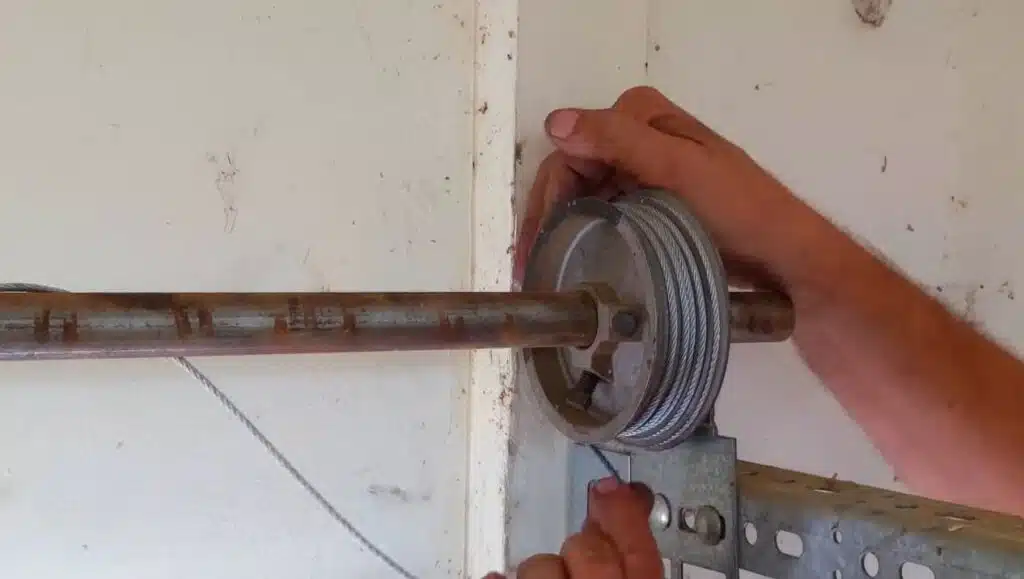
With the tension released, locate the old cable and carefully unhook it. Watch out for any frayed sections—they can catch on your gloves or clothing. - Install the New Cable
Take your new cable and follow the instructions in your replacement kit. Thread it through the pulleys, ensuring it’s secure at both ends and there’s no slack. - Restore Tension and Test the Door
Wind the spring back to its proper tension setting, reconnect the power, and test the door’s movement. Does it open and close smoothly? If so, you’re all set!
Video How To Replace Broken Garage Door “Lift Cable” ?
How Much Garage Door Cable Replacement Cost ?
Curious about the cost? Replacing garage door cables can be pretty affordable if you do it yourself. A replacement cable kit typically costs anywhere from $20 to $50 in Amazon, depending on the brand and quality. Hiring a professional, however, could set you back between $150 and $300.
If you’re hiring out the work, get an online quote or call around for estimates. It’s wise to compare a few options to ensure you’re getting a fair deal.
How to Tell If Your Garage Door Cables Need Replacement
Wondering if your garage door cables are really in trouble? Here’s how to spot the signs:
- Grinding Noises: Grinding or squeaking sounds can mean the cable is frayed and struggling.
- Uneven Door Movement: If one side of the door seems lower than the other, your cables might be worn or broken.
- Visible Fraying: Take a close look at the cables. If you see any fraying or thinning, it’s time to replace them.
- Difficulty Opening or Closing: A door that’s hard to open or close could indicate cable issues.
Still unsure? YouTube can be a great place to find video guides on spotting these signs. Watching a visual demonstration is sometimes all you need to understand the problem.
Why Do Garage Door Cables Break?
First things first—why do these cables even break? Well, think about it: every time your garage door goes up and down, those cables are doing a huge amount of heavy lifting. They’re under high tension, keeping the door balanced and safe, and over time, this takes a toll. Here are some of the top reasons they wear out:
- Corrosion: Rust can weaken cables, making them brittle and more likely to snap.
- Wear and tear: These cables work hard, and like any hard-working part, they degrade over time.
- Improper Installation: If the cables weren’t installed right in the first place, they’re more likely to fail.
- Lack of Maintenance: Without regular lubrication and inspection, cables wear down faster than you’d think.
If you’ve got a garage door that’s dropping on one side, making strange noises, or not moving as smoothly as it should, the cables might be crying out for attention. Trust me, when garage door cables go, they don’t go quietly!
Essential Tools for Replacing Garage Door Cables
If you’re confident and ready to tackle this on your own, you’ll need the right tools for the job. Here’s what you’ll need to get started:
- Replacement Cable Kit: Look for a kit that’s compatible with your garage door model, such as one from Chamberlain if that’s your brand.
- Wrenches and Pliers: These are essential for loosening and tightening bolts and screws.
- Stepladder: A good, stable ladder will help you reach all the high points on your garage door.
- Safety Gear: gloves and goggles are a must. You’re dealing with high-tension parts here, so don’t skimp on safety.
With the right tools in hand, you’re ready to get started. Just be sure you’re confident in your skills before diving in.
When It’s Better to Call a Pro
Feeling unsure or uneasy about handling the replacement? No worries—calling a professional is a safe choice. With the right expertise, a professional can handle the tension and setup without any risk to you. Many top-rated services are available in most areas, and many offer online quotes so you know the price before they show up.
Simply search for “garage door repair near me currently open” to find a reliable company nearby. Some repair services even have video tutorials available, so you can watch the process and decide if it’s something you want to attempt yourself.
Tips to Keep Your Cables in Top Shape
After you’ve got your new cables installed, take a few steps to keep them in good shape. Regular maintenance can help you avoid the hassle of frequent replacements. Here’s what to do:
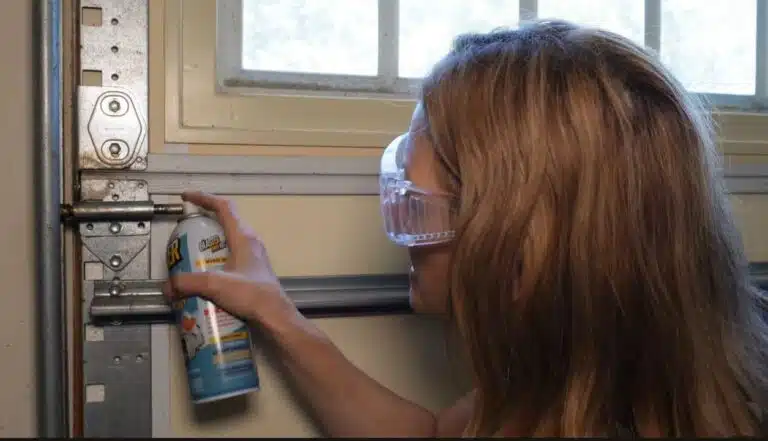
- Lubricate Regularly: Apply a light coat of lubricant to the cables every few months. This will prevent rust and reduce friction.
- Check for Wear: Take a quick look at the cables every so often, especially if you notice any strange noises.
- Watch for Fraying: Even a small amount of fraying can indicate that the cable’s wearing out.
Wrapping Up: Garage Door Cable Replacement in a Nutshell
Replacing a garage door cable might sound intimidating, but with the right tools and a little guidance, it’s absolutely doable. Whether you’re planning to do it yourself or call in a professional, remember: safety first. These cables carry a lot of weight and tension, so don’t take any risks if you’re unsure. By following these steps and keeping your cables well-maintained, you can keep your garage door running smoothly for years to come.
So next time you hear a strange sound or notice a bit of a lean in your garage door, you’ll know what to do—or at least, who to call!

