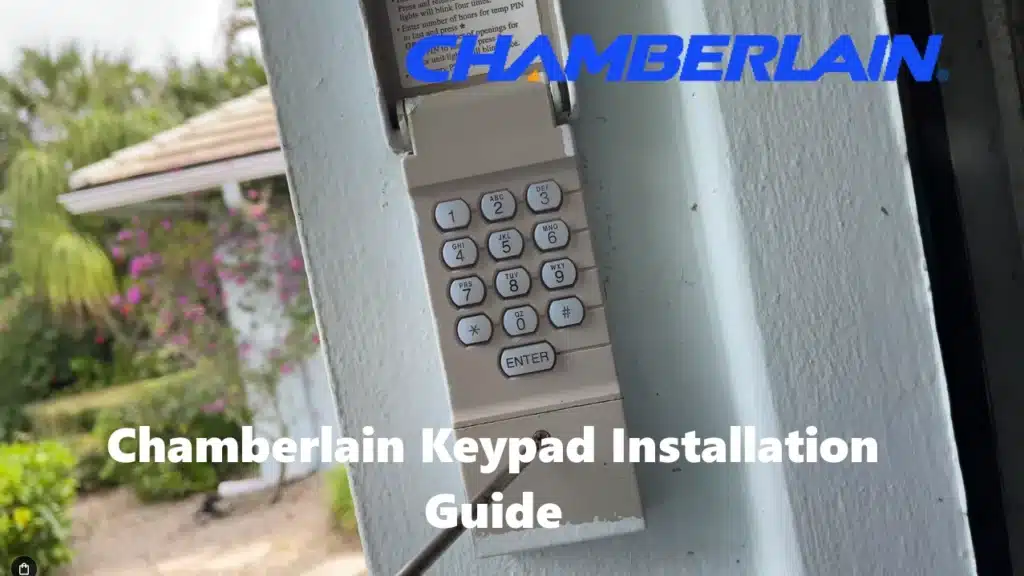
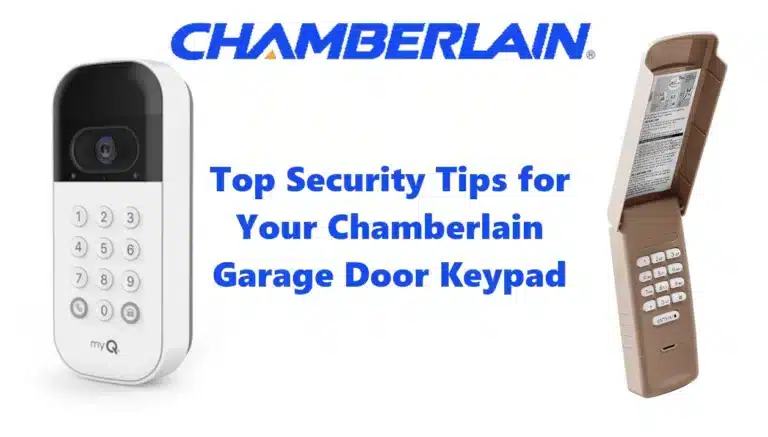
Setting up a Chamberlain garage door keypad is a straightforward DIY project. Since it’s wireless, you don’t need to run any wires or have electrical knowledge. You’ll basically be mounting the keypad on an exterior surface and programming it to communicate with your opener.
Choose the Mounting Location
Pick a convenient spot on the exterior of your garage, typically near the garage door (along the door frame on the outside wall). A common placement is just to one side of the garage door, at about 5 feet off the ground so that it’s easily reachable for adults but out of reach of very small children. Ensure the location is flat for mounting and within reasonable range of the garage door opener’s receiver. Usually, beside the door is fine; these keypads have a range similar to remotes (around 30–50 feet or more). Avoid mounting directly on a metal surface like a metal garage door without insulation, as that could slightly reduce radio range – if needed, put it on wood trim or use standoffs.
Install the Battery
Open the keypad’s battery compartment and insert the battery (if it isn’t already factory-installed). Most Chamberlain units use a 9V rectangular battery that either snaps into a connector or slides into a slot. The battery compartment might be on the back of the keypad or behind a small cover on the front/bottom. Refer to the instructions that came with it – but typically, you might have to remove the keypad from its base by sliding it upward to access the back.
Tip: It’s actually a good idea to program the keypad (set the PIN and sync it to your opener) before permanently mounting it, just to make sure everything works while you have it in hand.
Mark and Drill Holes
With the battery in and cover closed, hold the keypad unit up to the wall where you want to mount it. Open the cover (flip up or slide up) and you’ll usually see one screw hole at the top and one at the bottom (inside the case). Use a pencil to mark the position of the top mounting hole on the wall. Set the keypad aside and drill a pilot hole at that mark. Usually, a small 1/8 inch drill bit is recommended for the screw hole. If you’re drilling into wood, a pilot hole is enough. If into masonry or brick, you’ll need a masonry bit and anchors.
Attach the Keypad to the Wall
Install the top screw first. Drive a screw into the pilot hole you made, leaving the head protruding by about 1/8 inch. Many Chamberlain Garage Door Keypads come with two mounting screws (and anchors if needed). Once the top screw is in, hang the keypad on that screw via the keyhole slot on the back. The keypad should now be hanging by the top screw.
Open the cover and mark the bottom hole position through the bottom mounting hole onto the wall. Swing the keypad aside or take it off the top screw, and drill a pilot hole at the bottom mark. Then place the keypad back on the top screw and secure the bottom screw through the bottom hole. Tighten both screws firmly but do not overtighten (you don’t want to crack the plastic case). The keypad should be flush and secure on the wall.
Test the Cover and Buttons
Once mounted, test that the cover moves freely (flip up or slide down easily) and that pressing keys feels normal. Ensure the battery is seated so the keypad lights up when you press a button. At this point, the physical installation is done.
Apply Any Stickers (Optional)
Some keypads might include a little sticker inside the cover to write down the PIN (probably not recommended for security) or the Chamberlain service number, etc. This is optional. It’s usually best not to write your code anywhere on the unit. You may, however, want to note the model number on the inside for future reference.
For myQ Video Keypad Users
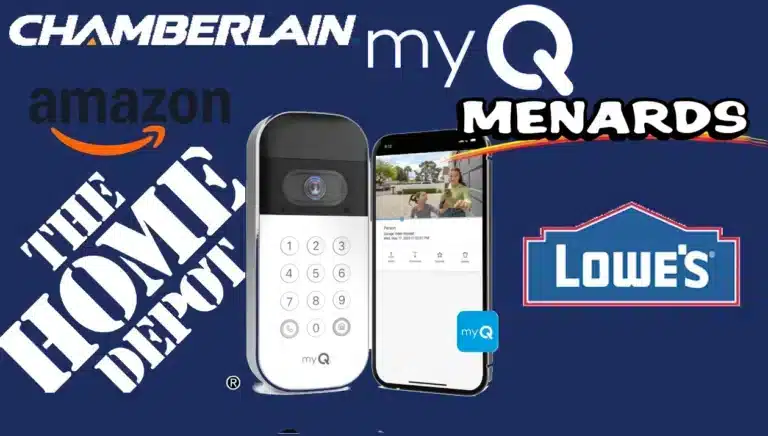
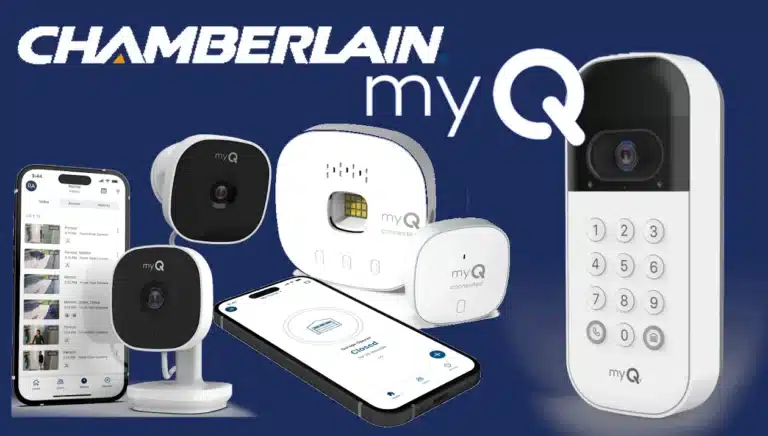
Because there’s no wiring, the installation is essentially just drill two holes and screw it in. It’s a quick process (often under 15 minutes). For the myQ video keypad, installation is similar in terms of mounting (it also attaches with screws). The main difference is you’ll then have to go through a Wi-Fi setup via the app, which involves scanning a QR code on the device, connecting to your home Wi-Fi, etc.
The video keypad also offers different mounting angle accessories (0°, 20° wedge, or a swivel mount) – these are to adjust the camera view. Use the flat mount for straight-on, or a wedge if you mount it on a door frame and need the camera angled toward the driveway. The mounting process for those would involve a couple more screws for the bracket, but Chamberlain provides guides for those as well.
Ready for Programming
Once the keypad is mounted, you’re ready to program it to work with your garage door opener(s). If you haven’t programmed it yet (or if you skipped doing it before mounting), proceed to the next section to get your PIN code set up and synced with the opener.

