

A Craftsman garage door opener keypad is a wireless, wall-mounted device that allows you to open or close your garage by entering a PIN code. Over time, you may need to reset the keypad (for instance, if you forgot the code or moved into a new home) and reprogram it to work with your garage door opener.
Resetting typically involves clearing any old PIN and restoring the keypad to a default state, then syncing it with the opener’s receiver. In this guide, we’ll walk through step-by-step instructions to reset the keypad, program a new PIN, change the code, and troubleshoot common issues. The process is DIY-friendly and mainly requires locating the opener’s “Learn” button and following a sequence on the keypad. Always consult your Craftsman manual if possible, and ensure safety by keeping the door in view during programming.
Step-by-Step: Resetting and Programming the Keypad
Follow these steps to reset your Craftsman Garage Door Opener keypad to factory default and program a new PIN to sync with your garage door opener. This will effectively erase the old code from the keypad and allow you to set a fresh code.
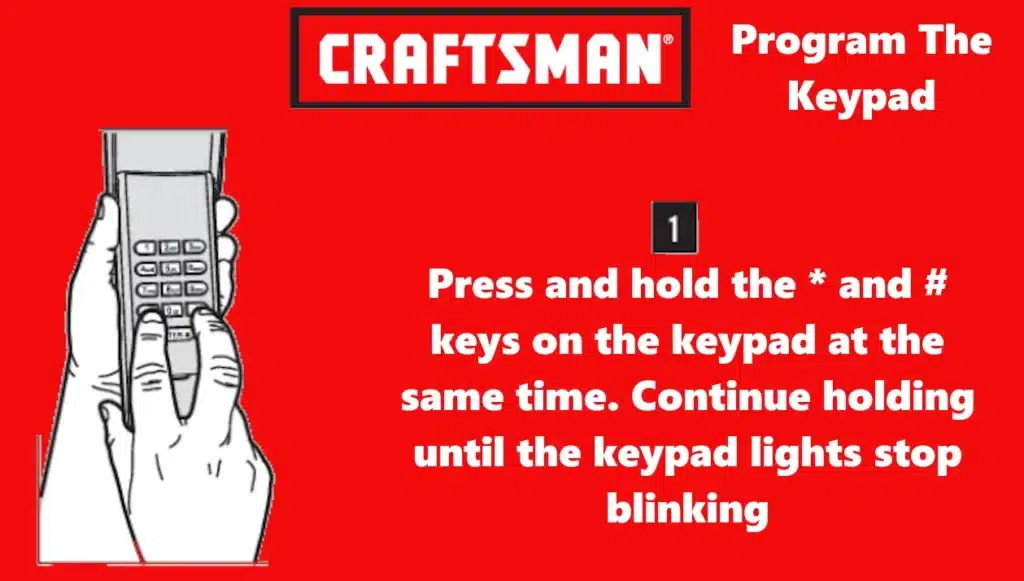
- Clear the Keypad (Factory Reset): Press and hold the
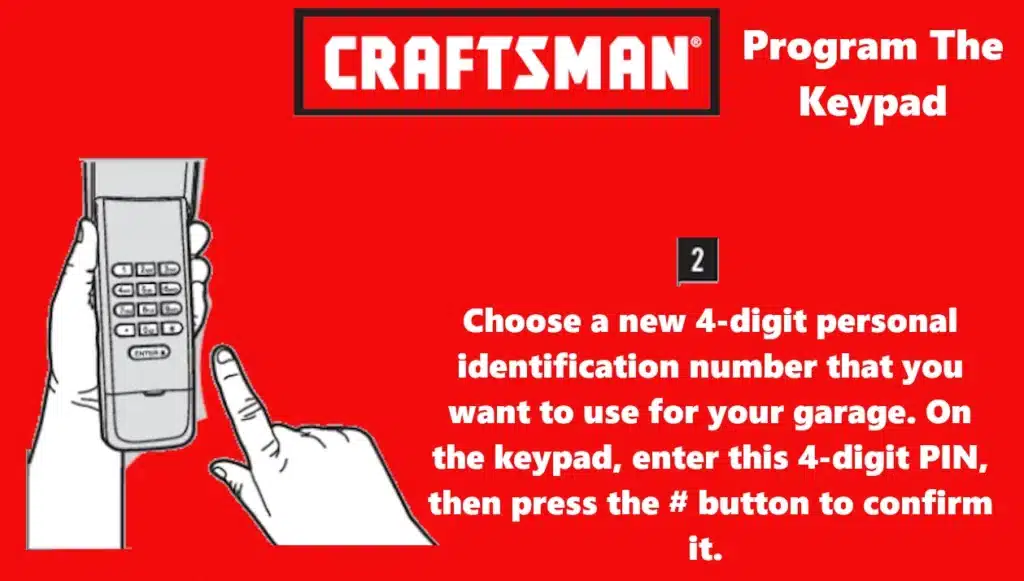
*and#keys on the keypad at the same time. Continue holding until the keypad lights stop blinking. This resets the keypad’s internal memory and puts it into programming mode (ready to accept a new PIN). - Enter a New 4-Digit PIN: Choose a new 4-digit personal identification number that you want to use for your garage. On the keypad, enter this 4-digit PIN, then press the
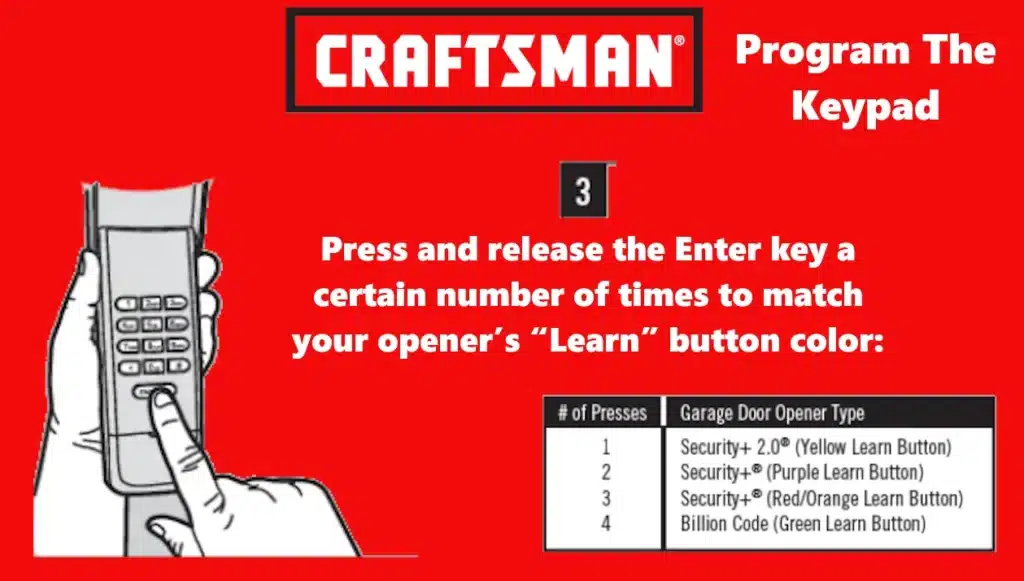
#button to confirm it. (Avoid using obvious codes like0000or your street number for security.) - Select Opener Type (Learn Button Color): The keypad needs to know what type of garage door opener you have. Press and release the
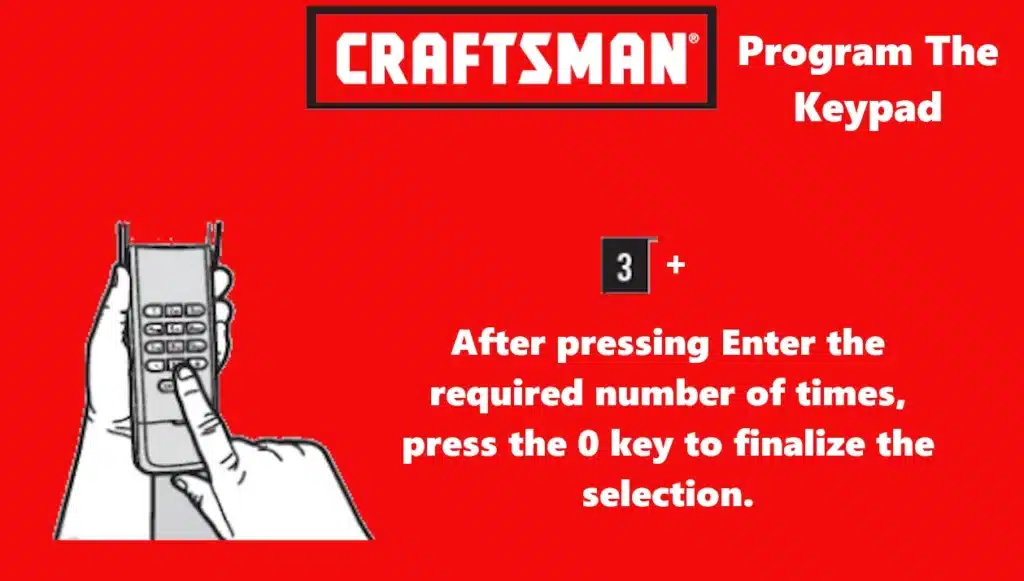
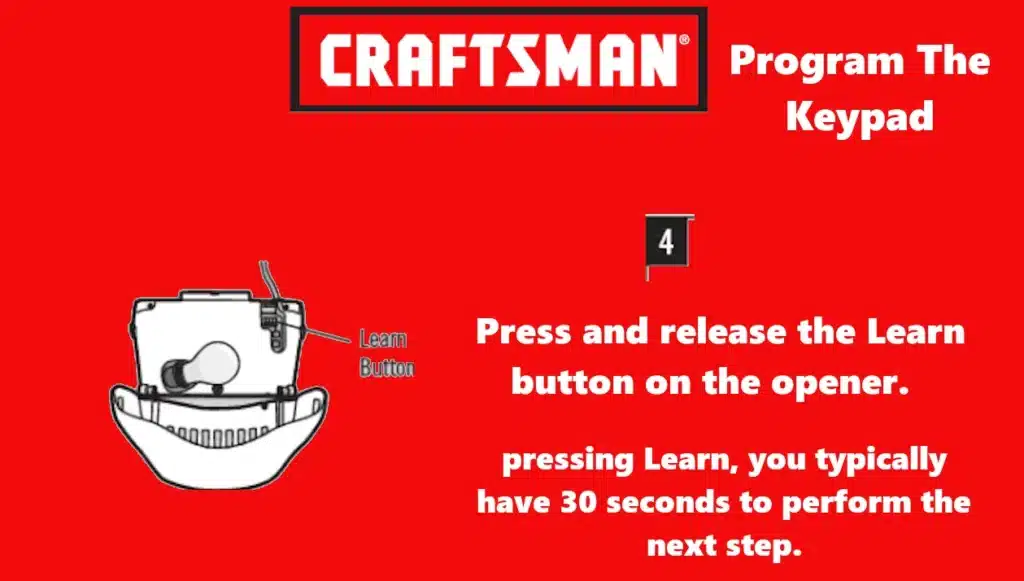
Enterkey a certain number of times to match your opener’s “Learn” button color: press once for a Yellow learn button (Security+ 2.0), twice for Purple, three times for Red/Orange, and four times for Green. (These colors correspond to different generation Craftsman/LiftMaster systems.) After pressingEnterthe required number of times, press the0key to finalize the selection. - Activate the Opener’s Learn Mode: Go to your garage door opener unit (the motor head on the ceiling) and locate the Learn button. It’s usually on the back or side of the unit, often near the hanging antenna wire. Press and release the Learn button on the opener. The Learn LED indicator next to it will light up, indicating the opener is in programming mode and ready to pair to a new device. Note: After pressing Learn, you typically have 30 seconds to perform the next step.
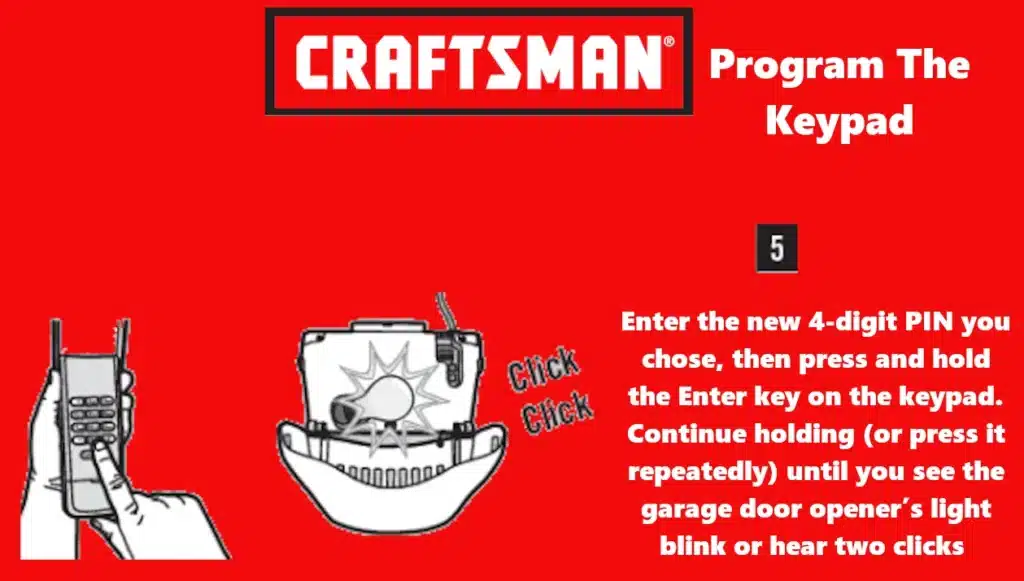
- Sync the Keypad with the Opener: Quickly return to the keypad. Enter the new 4-digit PIN you chose, then press and hold the
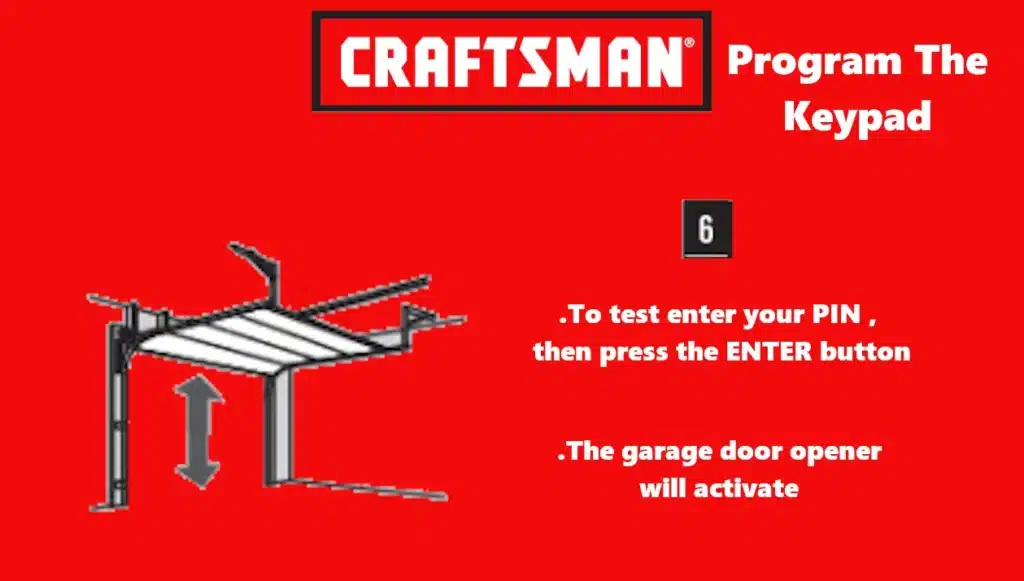
Enterkey on the keypad. Continue holding (or press it repeatedly) until you see the garage door opener’s light blink or hear two clicks from the opener. The blinking light or clicks confirm that the opener has learned (accepted) the new keypad code. - Test the New Code: Wait a few seconds, then test the setup. On the keypad, enter your new PIN and press
Enter. The garage door should activate (open or close) in response. This confirms the keypad is successfully programmed. If it doesn’t work, repeat the steps above to ensure no step was missed (remember to press the correct number ofEnterpresses for your opener type).
Notes: These steps program the keypad for one garage door opener. If you have multiple garage doors, you can program additional openers by repeating the above process with a different PIN for each opener. Also, ensure your opener has a working light bulb during programming, as the blinking is a helpful indicator. Craftsman wireless keypads are generally compatible with all Craftsman/LiftMaster/Chamberlain openers made since 1993 that use a learn button (green, orange/red, purple, yellow).
If your opener is older than 1993 and uses DIP switches instead of a learn button, a modern keypad may not work without an upgrade (those older units lack the rolling-code receiver needed for the keypad). In that case, consider installing a compatible external receiver or upgrading the opener for keypad use.
Changing the PIN Code (Using the Keypad Programming Method)
If you already have a working PIN on your Craftsman keypad and simply wish to change it to a new code, you can do so without completely resetting the keypad or pressing the opener’s learn button again (for most models). This method requires knowing the current PIN. Here’s how to change the access code:
- Enter the Existing PIN: On the keypad, enter the current 4-digit PIN (the one you want to change). Do not press Enter yet.
- Initiate PIN Change Mode: Press and hold the
#key on the keypad. Hold it for a few seconds until you see the garage door opener’s light bulb blink twice. (The double-blink is a signal that the unit has entered PIN change mode.) - Enter the New PIN: Now input your new 4-digit PIN (the replacement code you want). Then press the
Enterkey to store the new PIN. The opener’s light should blink once to confirm the new code was accepted. - Test the New Code: Wait a moment, then test the new PIN. Simply enter the new 4-digit code and press
Enter– the door should activate, indicating the change was successful. Important: The old PIN will no longer operate the door. Always test the new PIN to ensure you haven’t been locked out.
If the above procedure does not work (for example, on some very old models), you may need to resort to the full reset/reprogram steps instead. In fact, for certain older Craftsman openers with a Green “Learn” button or external receiver units, the keypad PIN change method isn’t supported – you must repeat the “Program Initial PIN” process from scratch to change the code in those cases.
Essentially, that means clearing the keypad and using the Learn button as if setting it up new (as described in the previous section). This is a known limitation on the oldest rolling-code openers. For most newer openers, however, the PIN change steps above should work and are more convenient than reprogramming everything.
Model Differences and Additional Tips
Craftsman (made by Chamberlain) has produced several keypad models and garage opener generations. Fortunately, the programming steps are very similar across models, but here are a few differences and tips to keep in mind:
- Compatibility by Learn Button Color: As noted, the color of your opener’s Learn button is a quick guide to compatibility. This Craftsman wireless keypad system works with openers that have Green, Orange/Red, Purple, or Yellow learn buttons (1993–present Security+ systems). Newer openers (yellow learn button Security+ 2.0) use a different radio frequency and encryption, but the keypad accounts for this in the programming step where you press
Enter1-4 times. If your opener has dip switches (typically from the late 1980s to 1992) and no learn button, it is not directly compatible with this keypad. In that case, you would need a special aftermarket keypad or an external receiver that can bridge the older technology. Always verify the model of your opener and keypad – Craftsman model numbers like 139.53879, 139.18795, etc., might have specific instructions, but the general process remains consistent. - Keypad Model Variations: Newer Craftsman keypads (such as model CMXZDCG440, pictured in this guide) support advanced features like storing multiple permanent PINs and temporary codes. Older keypads (e.g., older 139-series keypads) might not support multiple codes or a one-button close feature. Refer to your keypad’s instructions. For instance, some keypads allow closing the door by just pressing
Enterwithout a PIN (one-button close) – usually you can enable/disable that by holding a certain key combination (on the CMXZDCG440, pressing and holding1and9for 10 seconds toggles this feature). Note that one-button close won’t work on very old openers made before 2006. - Temporary PIN Feature: If your keypad supports it, you can set a temporary PIN for guests or service personnel that expires after a set number of uses or hours. (For example, on newer Craftsman/LiftMaster keypads you would enter your main PIN, hold
*, then enter a temporary PIN and number of hours or uses per the manual.) This is optional and not required for basic operation. Importantly, as mentioned in troubleshooting, openers with a Green learn button (Security+ 1993–early 1990s) do not support the temporary PIN feature, so don’t worry if you can’t use it on those models. - Security Best Practices: When resetting and reprogramming your keypad, it’s a good time to ensure old codes or lost remotes are cleared from the system. If you moved into a new home, you should erase the opener’s memory (as described in Troubleshooting) to remove any device the previous owner had programmed. Then program only the remotes and keypads you own. Choose a PIN that’s not easily guessable, and share it only with those who need access. You can change the PIN periodically for security. Also, keep your keypad’s cover closed to protect it from weather and to hide the keys (some models even have a backlit keypad for night use).
By following this comprehensive guide, you should be able to reset your Craftsman garage door opener keypad, program a new code, and troubleshoot any problems along the way. Always refer to official Craftsman documentation for your specific model if available, as it will have model-specific details. With a fresh battery, a correctly programmed PIN, and a little patience, your wireless keypad will provide conven


