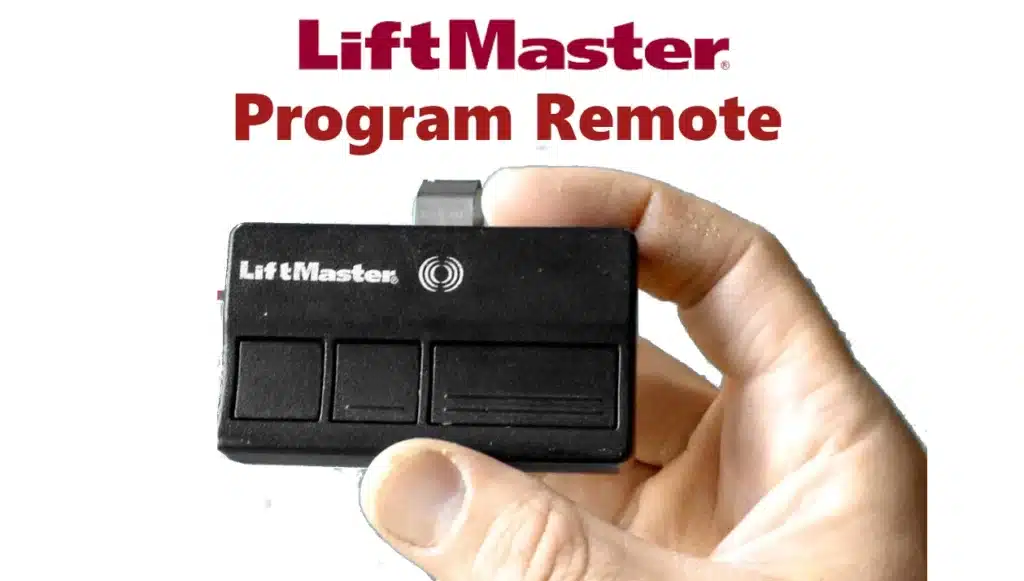
Programming a LiftMaster garage door remote is usually a quick and simple process. The procedure can vary slightly depending on the model of remote and the opener’s technology, but the general idea is the same: you put the opener in “learn” mode and then send a signal from the remote to teach the opener to recognize it. Below are step-by-step guides for both standard remotes and the LiftMaster MAX/universal models:
For Standard LiftMaster Remotes (Security+ or Security+ 2.0 one-button or multi-button models):
1-Locate the Learn Button on the Liftmaster Garage Door Opener:
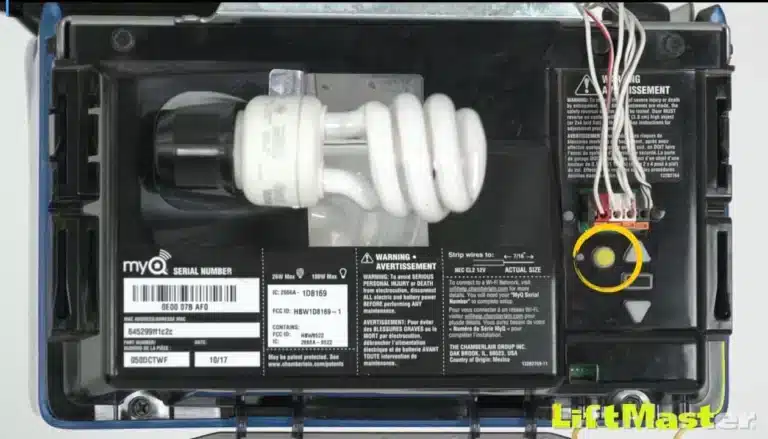
This is on the motor unit (hanging from the ceiling) typically near where the antenna wire hangs down. You might have to open the light lens cover to find it. The learn button is usually colored (green, orange, red, purple, or yellow) with a small LED next to it.
Tip: Have your remote with you and a ladder ready before pressing it.
2-Press the Learn Button Your Liftmaster Garage Door Opener :
Press and release the learn button on the Liftmaster opener. The nearby LED will light up or start blinking (the opener is now in programming mode, usually for about 30 seconds).
Note: On Security+ 2.0 openers (yellow button), the LED might glow for 30 seconds; on older units it might flash. Either way, once you press it, move quickly to the next step.
3-Activate the Remote Liftmaster Garage Door Opener:
Within that 30-second window, press and hold the button on the remote that you want to program. Hold it for about 3 seconds, then release. On some remotes/opener combos, you might just need to press it once, on others holding for a moment ensures the signal is sent. The opener’s lights will flash (or you might hear two clicks) to indicate it learned the remote. After that, the remote should be programmed!
4-Test the Remote on Liftmaster Garage Door Opener:
Wait a few seconds for the Liftmaster Garage Door opener to exit learn mode (the indicator light will turn off). Then press the remote button you just programmed – the door should activate. If not, repeat the process ensuring you pressed the remote within 30 seconds of the learn button. It’s easy to miss the window, so don’t worry if it takes a couple tries.
That’s the basic process for most one-step programming remotes. For a multi-button remote, decide which button you want to control the door and press that one during step 3. You can program multiple different openers to different buttons by repeating the process for each opener (for example, button 1 for your garage door, button 2 for a gate).
Important: On standard LiftMaster remotes, each button is essentially independent – programming one button to an opener won’t affect what the other buttons do.
For MAX Series or Universal LiftMaster Garage Door Remotes:
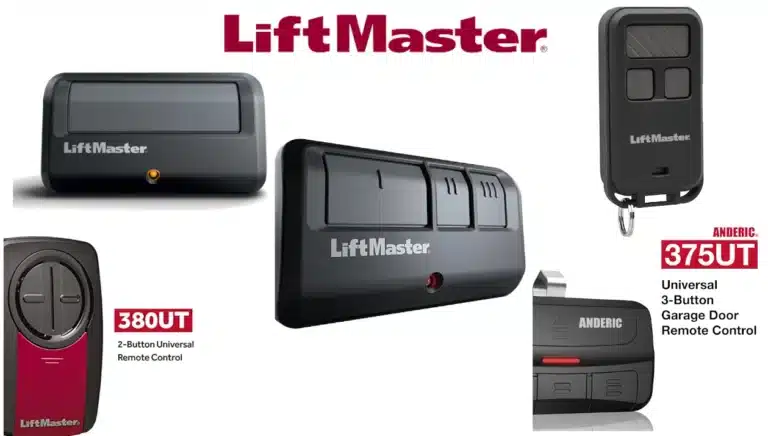
The LiftMaster Garage Door MAX remotes (e.g. 893MAX, 890MAX) and the universal models (374UT, 380UT, etc.) have an additional step because they can work with different technologies. Essentially, you need to put the remote itself in a programming mode first, then teach it which opener to pair with. Here’s how to program these:
1-Put the Remote into Programming Mode:
On the 893MAX (visor style with three buttons), there is a small “Program” button on the back of the remote (often under the visor clip). Press that program button – the remote’s LED will start glowing, meaning it’s ready to receive a code. On the 890MAX (mini keychain), similarly use a paperclip to press the little program button.
For the 374UT/380UT universal remotes, you often press and hold one of the buttons until the LED lights up (consult the manual, but generally holding button 1 and 2 together might put it in learn mode, depending on model). The key is to get the remote’s LED steady, indicating programming mode. For a wireless keypad like 877MAX, you would press and hold * and # together until the keypad lights stay on, which is its programming mode. Once in program mode, you’re ready to sync it to the opener.
2-Send the Signal to the Opener:
Now, similar to above, press the opener’s Learn button to put the opener in learning mode (LED on opener comes on). Then, on your MAX/universal remote, choose the button you want to operate that door and press it. The remote’s LED will usually start blinking or flickering after the first press. On MAX remotes, the instructions say to press the remote button, then wait for the remote’s LED to stop blinking, then press it again, repeating this until the door opener responds. What’s happening is the remote is cycling through different signal formats (since it can work with many types of openers).
You might have to press that button a few times (slowly) until you see the garage door opener light flash or hear a click – that’s the sign it connected. For example, with an 893MAX programming to a yellow learn button opener, you might press the button ~3 times before the opener learns it. Do not press the remote button again after the opener has responded, or you may accidentally cycle to the next format and undo the successful programming. Once the opener light blinks, stop and move to the next step.
3-Exit Programming Mode:
On a MAX remote, you typically press any other button (a different button than the one you just programmed) to exit programming mode. Or on some, you press the program button again. The remote’s LED will turn off, indicating it’s out of learn mode. For the 375UT/380UT universal, there may be a specific “exit” step like pressing the program button again as well. On keypads (877MAX), after the opener learns the code (opener light flashes), you’d just wait and the keypad will time out of programming mode.
4-Test the Remote:
Same as before, test that the button now activates the opener. If it doesn’t, you might need to try the sequence again, ensuring you followed the programming timing. For LiftMaster’s MAX remotes, sometimes the trickiest part is pressing the button the correct number of times. For reference, the programming instructions note something like: press until it works – e.g. 3 presses for a purple learn (315 MHz opener), 2 presses for orange (390 MHz Security+), 4 presses for green (Billion code), 8 presses for yellow (Security+ 2.0), etc.. But you don’t have to memorize that – the remote will cycle automatically. Just go slowly and wait a second between presses. Once it works, you’re done.
The MAX and universal remotes add flexibility but also an extra step. If you get stuck, consult the manual for your specific model, as the sequence of LED blinks can vary. However, in most cases, programming a LiftMaster remote – whether standard or universal – is a 1-2 minute job. You don’t need any special tools except maybe a ladder and a paperclip (for pressing tiny program buttons). And remember, if programming fails the first time, simply clear the opener’s learn mode and try again; no harm done.

