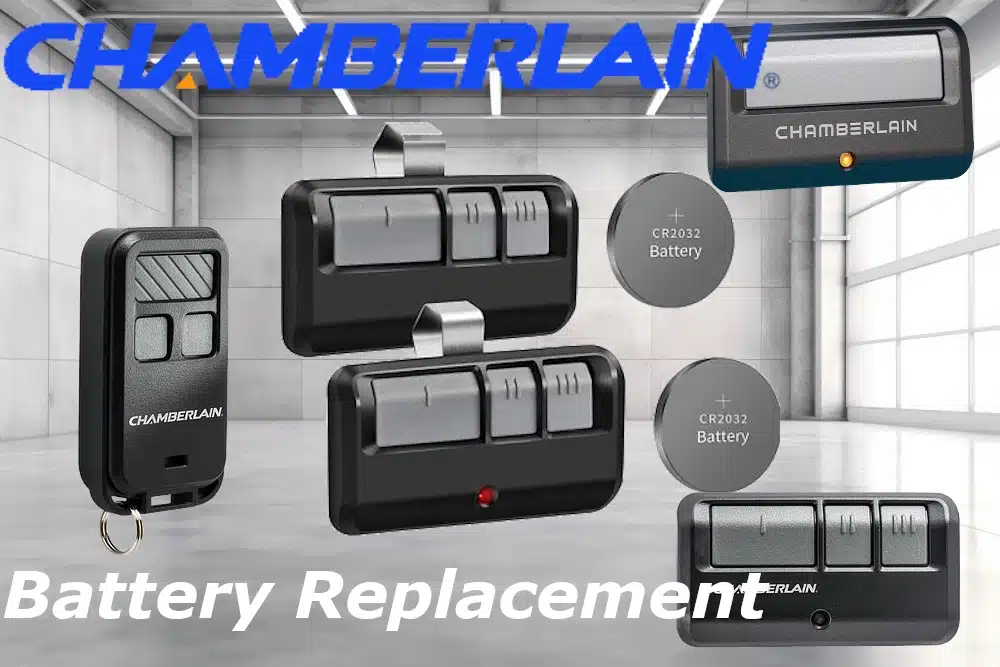
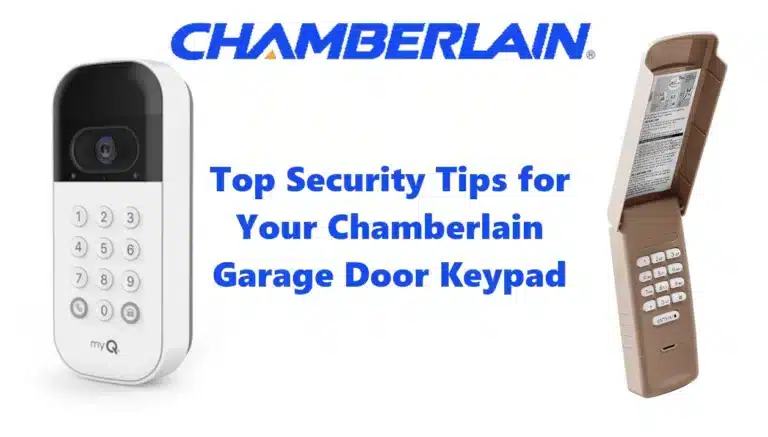
When your Chamberlain garage door remote starts acting up—slow to respond, weak signal, or not working at all—it’s usually a sign that the battery is running low. Luckily, replacing the battery For Chamberlain Garage Door Remote is a quick and simple fix that requires no special skills or tools beyond a screwdriver or visor clip. Whether you’re using a standard 3-button remote or a compact keychain model, this article will walk you through how to safely remove and replace the battery in your Chamberlain remote, including warnings and proper disposal instructions.
Important Safety Warnings Before You Begin
Before starting the replacement Battery For Chamberlain Garage Door Remote, please review these safety precautions carefully:
- NEVER allow children to handle or play with batteries. Coin-cell batteries are small and can be easily swallowed, which can cause serious injury or death.
- If a battery is swallowed, seek medical attention immediately.
- Use ONLY 3V CR2032 coin-cell batteries for all the listed Chamberlain remotes.
- Do NOT recharge, disassemble, incinerate, or expose the battery to heat above 212°F (100°C).
- Always dispose of old batteries properly to prevent chemical burns or environmental hazards.
Following these guidelines is crucial not only for your safety but also for the longevity and reliability of your Chamberlain remote control.
Tools You’ll Need
For replacing the battery For Chamberlain Garage Door Remote, gather the following:
- A visor clip (usually comes with the remote) or a small flathead screwdriver
- A new 3V CR2032 coin battery
- A clean cloth or tissue to clean contacts if necessary
- A small Phillips screwdriver (for the MC100-P2 model)
Battery Replacement for Chamberlain 950ESTD and 950EV Single-Button Remote Controls
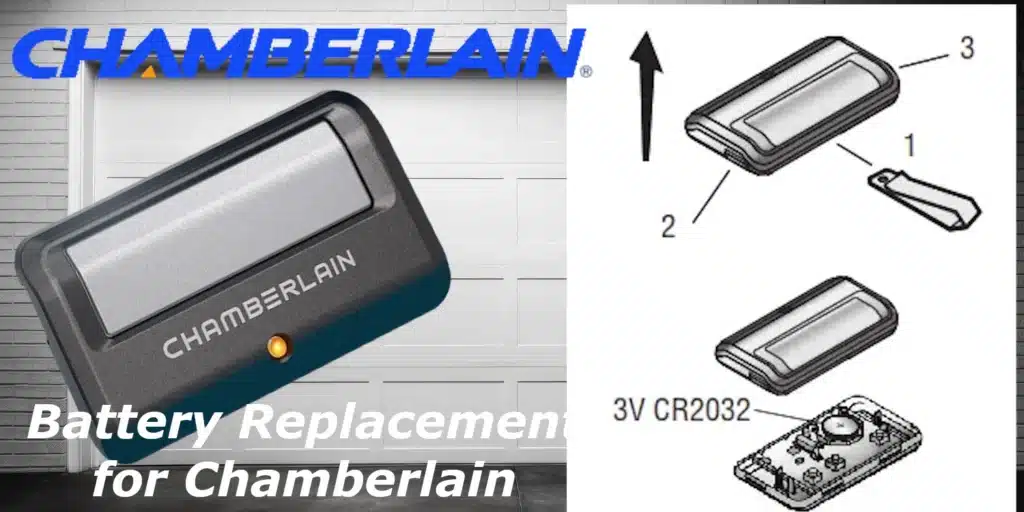
These models feature a compact design and are easy to open.
Steps:
- Use a visor clip or coin to pry open the case. Start in the middle of the remote and then work each side.
- Remove the old battery and dispose of it properly.
- Insert a new 3V CR2032 battery with the positive (+) side facing up.
- Snap the cover back into place.
- Test the remote by pressing the button. If the LED light turns on, the installation was successful.
Note: The 950ESTD is discontinued and replaced by the 950EV, which follows the same steps and uses the same battery.
Battery Replacement for Chamberlain 953ESTD 3-Button Remote Control
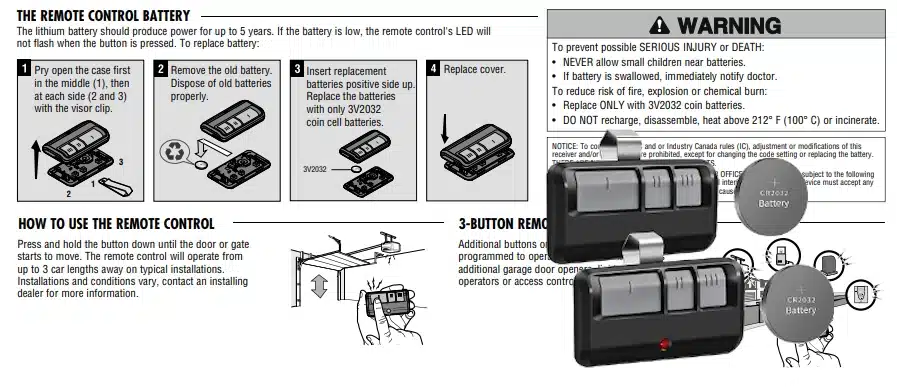
This remote allows control of up to three garage doors.
Steps:
- Open the case using the visor clip—start at the center, then move to both sides.
- Remove the old battery and clean any dirt or corrosion if visible.
- Insert a new CR2032 battery with the positive side up.
- Close the case by pressing the halves together until they snap securely.
- Test each button to ensure they respond properly.
Even though it has three buttons, the remote still uses only one coin-cell battery.
Battery Replacement for Chamberlain 953EV, 953EV-P2, 953EVC, and 953EVC-P2 3-Button Remotes
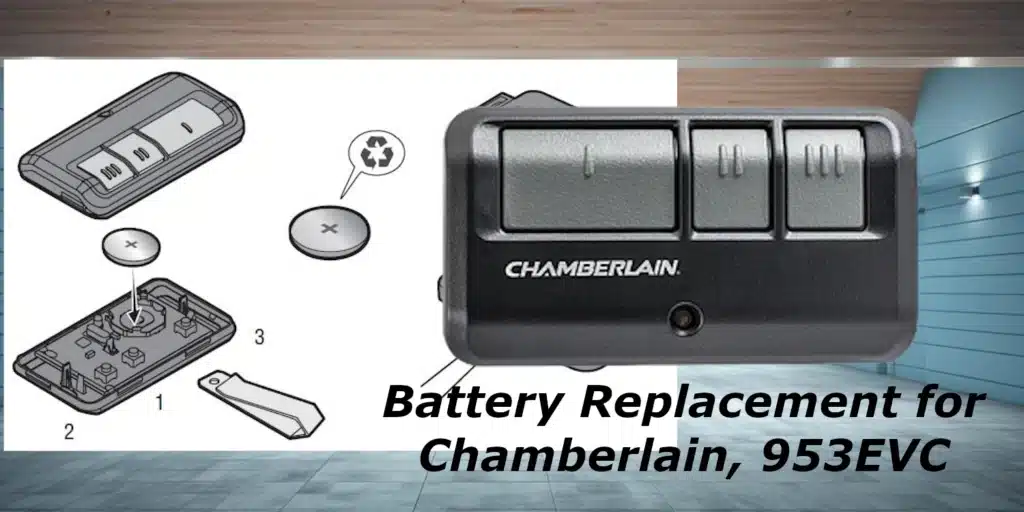
These are updated versions of the 953ESTD, offering enhanced compatibility and security features.
Steps:
- Pry open the case at the center, then gently at each side using the visor clip.
- Take out the old battery and dispose of it safely.
- Install a 3V CR2032 coin-cell battery with the + side facing up.
- Snap the cover back into place.
- Press any button to test the functionality.
These models also use a single battery, despite supporting multiple openers.
Battery Replacement for Chamberlain 956EV, 956EV-P2, and 956EVC-P2 Keychain Remotes
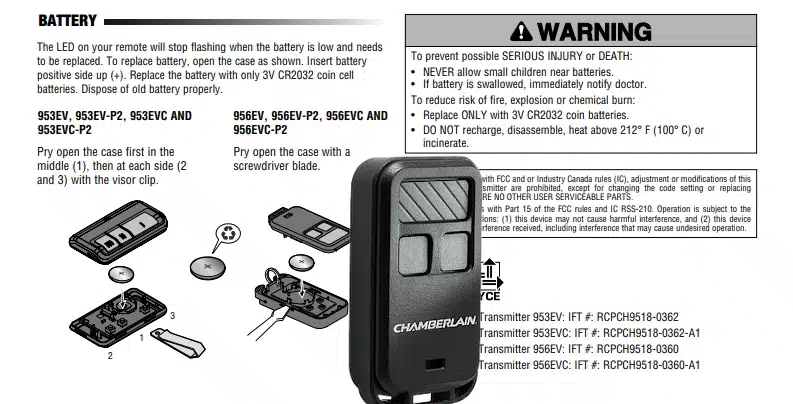
The 956 series keychain remotes are ultra-compact and designed for portability. The process is slightly different from the larger remotes.
Steps:
- Use a small screwdriver blade to pry open the case carefully.
- Remove the cover completely.
- Take out the old battery, being careful not to damage any small components inside.
- Insert a 3V CR2032 battery with the positive (+) side facing up.
- Snap the cover back on.
- Test the remote by pressing the button.
Since the keychain remote is smaller, be extra gentle during the process to avoid cracking the plastic or dislodging internal parts.
Battery Replacement for MC100C-P2 Universal Mini Remote
The MC100C-P2 is a universal mini remote that works with most major garage door brands. It differs slightly in construction, requiring a small screwdriver to open.
Steps:
- Remove the two screws on the back of the remote using a small Phillips screwdriver.
- Open the casing carefully to reveal the battery compartment.
- Remove the old battery and dispose of it properly.
- Insert a 3V CR2032 coin battery with the positive (+) side facing up.
- Close the casing and tighten the screws back into place.
- Test the remote to ensure the new battery is working correctly.
Even though it’s “universal,” this model still uses the standard CR2032 battery like most Chamberlain remotes.
After Replacing the Battery
Once the battery is replaced, here are a few quick tips to finish the job:
- Check the polarity: Always make sure the positive side of the battery is facing up.
- Check the fit: Ensure the battery is snug and that the cover is secured completely.
- Test the remote: Try it at various distances to ensure the signal is strong.
- Reprogram if needed: In rare cases, replacing the battery may cause the remote to lose its programming. If that happens, press the “Learn” button on your opener unit and follow the instructions to resync your remote.
Battery Disposal and Safety Tips
Batteries should never be thrown in the trash. They contain chemicals that are harmful to the environment and must be disposed of responsibly.
Here’s how:
- Take them to a local recycling center or hazardous waste facility.
- Drop them off at participating stores, like Home Depot, Lowe’s, or Best Buy, which often have battery recycling bins.
- Check with your city or county for scheduled hazardous waste collection days.
Also, store new batteries out of reach of children and pets, and keep old ones in a safe container until you can dispose of them properly.
Conclusion
Replacing the battery in your Chamberlain remote is a quick and easy task that extends the life of your garage door opener and saves you time and frustration. Whether you’re using a classic 950EV or a modern 953EVC or 956EV keychain remote, the process is simple as long as you use the correct tools and battery type. Always choose a 3V CR2032 coin-cell battery, follow safety instructions closely, and dispose of the old battery responsibly. With just a few minutes of effort, your remote will be working like new—ready to open your garage door with a single press.

