If you have a Craftsman 3/4 HP garage door opener, you’re dealing with a higher-powered unit designed for heavier or larger garage doors. In this section, we’ll dive into what the 3/4 HP Craftsman opener manual offers – from special installation notes to programming and troubleshooting – all in an approachable, instructional tone. Think of this as a tour of the manual’s highlights, with extra tips for getting the most out of a 3/4 horsepower opener.
When Do You Need a Craftsman Garage Door 3/4 HP Opener?
Before looking at the manual specifics, it’s worth understanding why one would have a 3/4 HP opener instead of the standard 1/2 HP. Typically, 3/4 horsepower openers are used for heavier garage doors – for example, a solid wood double-car garage door, oversize doors (8 feet tall or extra wide 16+ foot doors), or carriage-house style doors with insulation that add weight. These openers have a stronger motor (and often upgraded drive components) to handle the extra load with less strain. In fact, manufacturers note that if your door is above about 14 feet wide or made of heavy wood, a 3/4 HP is recommended for long-term reliability. Craftsman’s 3/4 HP models were often marketed for “large, heavy doors or high-cycle use.”
Now, onto the manual – which will cover all aspects of such an opener:
Installation Considerations in the Manual page (11—26)
For the most part, installing a 3/4 HP Craftsman opener is similar to a 1/2 HP Craftsman opener unit. The rail attaches to the header bracket, the opener hangs from the ceiling, and the safety sensors and wall control get wired up the same way. However, your 3/4 HP opener manual may have a few additional notes:
- Reinforcement: Heavier doors typically require a strong door bracket reinforcement. The manual usually shows how to attach a reinforcement plate or wood block to the top section of the garage door so the door arm doesn’t pull through the door’s skin. If your door is a wooden double door, the manual will stress using through-bolts and a sturdy plate when connecting the opener arm to the door. (Often, an illustration in the manual indicates a piece of angle iron across the door top for added strength.)
- Support: The motor unit of a 3/4 HP opener might weigh a bit more. The manual might suggest using additional hanging material or ensure that the ceiling mounting is very secure (using lag screws into ceiling joists, not just into drywall or weak anchors). Essentially, because the machine can exert more force, the installation must be rock-solid. It will likely say the same “fasten the opener to structural supports (garage framing)”.
- Electrical Requirements: Most Craftsman 3/4 HP openers still plug into a standard 120V outlet, drawing slightly more amperage under load than a 1/2 HP. The manual will caution to have a properly rated outlet (typically a 15A circuit is fine). If your model includes a battery backup (some higher-end Craftsman 3/4 HP units had a battery), the manual will include instructions on installing the battery and the charger wiring. It will also mention mounting the battery (usually inside or alongside the opener housing) and testing it.
The installation steps of rail assembly, header bracket, hanging, and sensor installation are otherwise the same as described for the 1/2 HP. The m
anual’s diagrams and part lists will just reflect that your model might have a belt drive (some 3/4 HP Craftsman were belt-driven for quieter operation even on big doors) or a chain that might be a bit heavier duty.
One thing often noted in manuals for larger openers: do not try to compensate for a poorly moving door with the opener. The manual will tell you to ensure the door moves smoothly by hand (springs properly counterbalancing). If a heavy door is not well-balanced, even a 3/4 HP opener will struggle and potentially wear out quickly.
Programming and Features (Differences in 3/4 HP units) 35—36
Once installed, the programming process – setting limits, force, remotes, etc. – is essentially the same as with other openers, but there are sometimes extra features on 3/4 HP models:
- Travel and Force Adjustment: The manual will guide you through setting the up/down limits using either adjustment screws or buttons (depending on model year). The 3/4 HP units often have similar mechanisms, though some newer ones might have digital setup (like holding a button until the door reaches desired open position, etc.). Always follow your model’s specific instructions. After setting, the manual instructs to test the door operation. Heavier doors might coast a bit more, so the down limit might need fine tuning to prevent the door from slamming. The opener’s force settings also need checking – because a more powerful motor can apply more force, it’s crucial to set it just right. The manual will emphasize the safety reversal test strongly here, since a 3/4 HP opener could potentially push harder before reversing if misadjusted. (As an example, if you had a misadjusted 3/4 HP opener and a small object was under the door, it could exert quite a bit of force – hence the importance of the UL-required reversal spec, which the manual helps you calibrate).
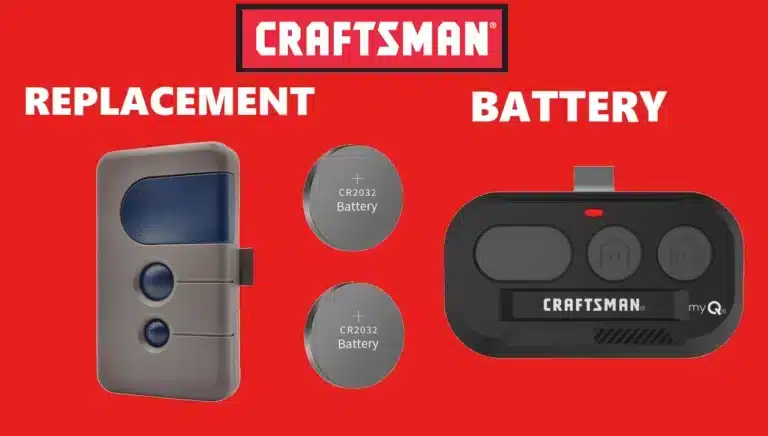
- Remote Controls: Your 3/4 HP Craftsman likely came with multiple remote controls and maybe a keypad. The manual provides the same Learn-button programming instructions. One nice thing: many 3/4 HP Craftsman openers support wireless indoor keypads and multi-button remotes to control multiple doors. The manual will outline how to set a remote’s button to this opener and possibly how to clear the opener’s memory if you need (e.g., if you lost a remote, the manual shows how to hold the Learn button ~6 seconds to erase all codes for security, then reprogram the ones you have).
- Lock and Light Features: If your model included a premium wall console, the manual covers its functions – like a digital display, motion sensor (some have a motion detector to turn lights on when you walk in the garage), the lock feature, and how to change the light timer. These features are more common on higher-end (often 3/4 HP) units. The manual might have a section just for the wall control, e.g., “To activate the motion sensor, slide the switch to ON” or “Press and hold the Light button to adjust the light auto-off interval.” Refer to those pages to customize how you like.
- Smart Connectivity: Craftsman 3/4 HP openers in the last decade sometimes came with AssureLink (Smart Control) capability. This means you can connect the opener to the internet via a gateway or built-in WiFi and use a smartphone app. If your model has this, the manual will have a section on how to set up the internet connectivity. It might instruct you to download the Craftsman app (which nowadays routes through the myQ system) and how to pair your opener. Since this is an advanced feature, follow the manual’s step-by-step (like putting the opener in learn mode for the network, etc.). If not built-in, Craftsman offered a Connectivity Hub as an add-on – your manual might mention if it’s “AssureLink compatible” and then direct you to separate instructions for the hub. (In short, 3/4 HP owners often have the option for modern smart features, which is a nice perk).
Craftsman garage door opener Troubleshooting in the Manual
A 3/4 HP Craftsman garage door opener manual will include a troubleshooting chart similar to other models, but one thing to highlight: diagnostic codes. Many Craftsman (Chamberlain-manufactured) 3/4 HP openers have a self-diagnostic LED that flashes in patterns if something goes wrong. The manual has a table decoding these:
For instance:
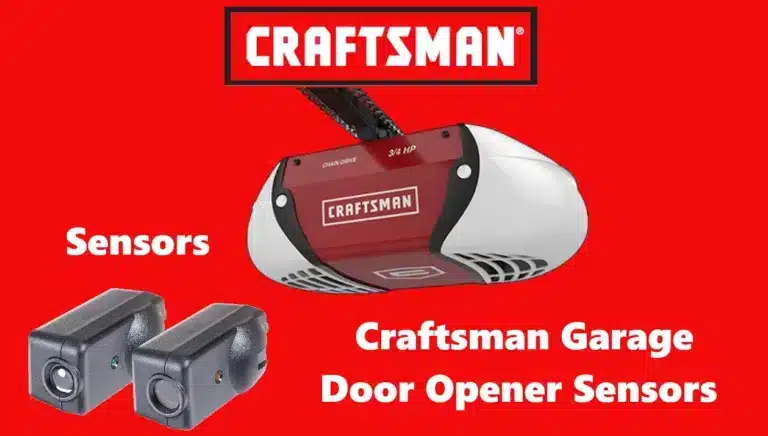
- 1 flash = Safety sensors misaligned or obstructed (solution: align sensors) – same as smaller models.
- 4 flashes = Sensors slightly misaligned (door still won’t close) – solution: realign carefully.
- 5 flashes = Motor overheated or RPM sensor issue. This is more likely to be encountered if the opener is working very hard (like lifting a very heavy door repeatedly). The manual would say to let the opener cool down for 15 minutes and try again. For example, Craftsman’s troubleshooting guide notes that if the opener’s light flashes 5 times, and the door’s travel is smooth, it may indicate the motor overheated and could ultimately require replacement if it happens after a single use. The manual will first instruct to unplug the opener for a few minutes (to reset and cool) and check that the door is not binding (because an overheated motor could be due to a door that’s sticking or too heavy). It might then say if the condition persists, contact service.
- 6 flashes, 7 flashes, etc., correspond to other issues (e.g., 6 flashes might mean RPM sensor failure on some models, 7 might mean logic board issue, etc.). The manual’s chart is the key to deciphering these codes.
Because a 3/4 HP opener is often used more frequently (e.g., in a home with multiple vehicles going in/out often, or even light commercial settings in some cases), the manual might also advise on lubrication schedule under heavy use. It will remind you to lubricate the opener rail (for a chain drive, a little grease on the rail can reduce noise; for a screw drive, frequent lubing is needed; for a belt drive, no grease – just check belt tension).
Extra Tips from the Manual for 3/4 HP Owners
- Battery Backup Maintenance: If your opener has a battery, the manual will have testing procedures. Usually, it says to unplug the opener and then operate the door once to see if the battery can handle it. It will also note the battery status LED indicators. Replacing the battery every 2-3 years is typically recommended – the manual provides the part number for the replacement battery. Always dispose of the old battery properly.
- High Usage Adaptability: A 3/4 HP motor generally is built a bit tougher. The manual might state the opener has thermal protection (it will shut off if it overheats and reset when cooled). If you’re someone who opens/closes the door multiple times in a short span (say, you’re moving lots of items out of the garage), the manual advises not to cycle it too rapidly to avoid tripping that protection. Wait a minute between cycles to let the motor cool slightly. Overworking any opener can lead to an overheated motor – the difference is a 3/4 HP will handle more cycles before needing a break, but it’s not unlimited.
- Compatibility with Accessories: The 3/4 HP models are usually compatible with all the same accessories (keypads, additional remotes, vehicle HomeLink, etc.). The manual often has a section listing optional accessories like a wireless exterior keypad, additional remote models, a garage door monitor, etc., with instructions on how to program or use them. Feel free to explore those if you want to expand your system – just cross-check model numbers for compatibility. Craftsman openers made after 1997 generally use the Security+ system at either 390 MHz (older) or 315/310 MHz (newer), so accessories have to match that. The manual makes note of the frequency typically on the cover or first page.
Conclusion
Your Craftsman 3/4 HP garage door opener manual is an essential guide to harnessing the full power of your opener safely and effectively. We’ve walked through the key points: secure installation for that extra horsepower, properly setting the travel and force (even more critical with a powerful motor), and utilizing any advanced features like smart connectivity or battery backup that often accompany these models. By following the manual, you ensure that even a heavy garage door is no trouble for your Craftsman opener.
Remember that with great power comes great responsibility – a 3/4 HP opener can handle more, but also requires that you keep safety checks (like sensor alignment and reversal tests) in top shape. The manual is filled with reminders of this, from frequent safety testing to the diagnostic codes that help identify any issues early. Should something go wrong, the troubleshooting section and error codes in the manual will point you in the right direction, whether it’s a simple sensor fix or a call for professional service for a bigger problem.
In summary, the manual for your 3/4 HP Craftsman opener ensures you install it right, set it right, and maintain it right. Adhering to it will give your opener a long, productive life of lifting that door day in and day out. When in doubt, don’t wing it – crack open that manual (or this guide) and double-check the proper procedure. Your garage door (and the safety of those around it) will thank you!

