

Garage door safety sensors are critical for preventing accidents by stopping the door if something is in its path. They work as a pair: one sensor emits an infrared beam and the other receives it. If the sensors become misaligned, the receiving sensor won’t detect the beam and the garage door will refuse to close. Fortunately, realigning misaligned sensors is a straightforward DIY task. Below is a detailed step-by-step guide covering general alignment steps, brand-specific tips for Craftsman, LiftMaster, Genie, and Chamberlain sensors, tools you’ll need, safety precautions, and troubleshooting advice.
General Alignment Steps (All Brands)
Follow these general steps to align garage door sensors. These steps apply to all major brands of garage door openers:
- Cut Power to the Opener: Unplug your garage door opener or switch off the garage circuit breaker before working on the sensors. This ensures the door won’t move during the alignment process and eliminates electrical shock risk. Double-check that the opener’s indicator lights are off, confirming no power is flowing.
- Locate the Sensors: Find the photo-eye sensors on both sides of the garage door, typically mounted 4–6 inches above the floor on the door tracks. Clear away any boxes, tools, or debris near the sensors. Inspect the sensor lenses for dirt or spiderwebs and gently clean them with a soft cloth so nothing is blocking the infrared beam.
- Check Indicator Lights: Each sensor has a small LED light. Observe the LEDs to get a baseline: one sensor’s light might be illuminated or blinking, and the other may be off. In a properly aligned system, both sensors show a steady light (the exact color depends on brand). If you see a blinking or unlit sensor LED, that’s a sign the sensors are misaligned or obstructed. Proceed to realign them.
- Loosen the Sensor Brackets: Locate the mounting hardware securing each sensor to its bracket. This is often a wing nut or a small bolt/screw on the bracket. Loosen the fastener just enough to allow the sensor to move ✧. Do not remove the screws completely – a couple of turns counterclockwise is usually sufficient. The sensor should now be able to slide up and down or pivot slightly in its bracket. (If the brackets were very loose, that may have caused the misalignment in the first place.)
- Align the Sensors Face-to-Face: Adjust the position of each sensor so that their lenses point directly at each other across the door opening. An easy way to ensure they are at the same height is to use a level or a taut string: hold a level under the sensor pair to see if they line up horizontally. Alternatively, tie a string from one sensor to the other and use a level on the string. Move one or both sensors up or down on their brackets until they are exactly level with each other and aimed correctly. Take care not to twist the sensors; they should face each other straight on, not at an angle.
- Confirm Alignment via LED Indicators: As you adjust the sensors, watch the indicator lights. Alignment is achieved when the receiving sensor’s LED glows solid (no flickering). Typically, one sensor will have a steady light when it “sees” the beam from the other. You may need to fine-tune the angle – small, slow adjustments – until the previously blinking/off LED turns solid on. Once both sensor LEDs remain lit without blinking, the sensors are properly aligned. (On most openers, one sensor is the emitter and might always show a light when powered, and the other is the receiver that lights up only when aligned; see brand-specific notes below.)
- Tighten the Brackets Securely: Carefully tighten the wing nut or screws on each sensor’s bracket to lock the sensors in place. Hold the sensor steady with one hand as you tighten with the other to prevent it from shifting out of alignment. The goal is a firm hold that keeps sensors aligned even when the door vibrates. Avoid over-tightening (which could crack a plastic bracket or cause the sensor to move). After tightening, it’s good to re-check that the sensor lights are still solid.
- Restore Power and Test the Door: Plug the opener back in or flip the circuit breaker on. Test the alignment by using the garage door remote or wall button to close the door. Watch the door’s movement and be prepared to stop it if it doesn’t behave correctly. If the sensors are aligned, the door should close smoothly all the way. To double-check functionality, wave an object (like a broom) in front of the sensors as the door is closing. The door should immediately stop and reverse when the beam is interrupted. This confirms the sensors are working and properly aligned.
If the door still won’t close and the opener’s lights flash (or you hear clicking), the sensors may still be misaligned – in that case, repeat the steps above and see the troubleshooting section below.
✧ Note: Some guides recommend pushing both sensors as low as possible on their brackets and stretching a string between them to get them level. This is an optional method to ensure precise alignment. Just remember to reposition the sensors back to roughly 4–6 inches off the ground (standard height) after leveling with the string.
How to Align Craftsman Garage Door Sensors ?
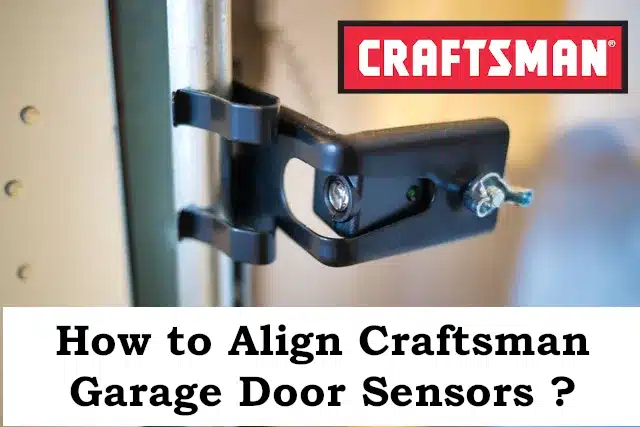
- Sensor Design: Craftsman openers (sold by Sears) are manufactured by Chamberlain, so their sensors function like Chamberlain/LiftMaster sensors. You’ll typically see two indicators: one sensor with an amber-colored LED (the emitter) and the other with a green LED (the receiver). The amber light should be on steadily whenever the opener has power, and the green light will shine only when the sensors are aligned and clear.
- Alignment Process: Aligning Craftsman sensors uses the same steps outlined above. Loosen the sensor brackets, adjust the sensors until the green LED on the receiving sensor stays lit, and then tighten the brackets. Ensure both sensors are facing each other directly at the same height. When aligned, the garage door should close normally.
- Indicator Lights: During alignment, if the green light is off or flickering, it means the beam isn’t being received. Adjust the sensor position (small movements) until this light is solid. The amber light on the sending unit should always be lit; if it’s off, that sensor might not be getting power (check the wiring in that case).
- Additional Tip: Craftsman/Chamberlain openers will flash the overhead opener light 10 times if the sensors are misaligned or obstructed. So if you notice the opener lights blinking in sets of ten when the door refuses to close, focus on realigning the sensors. Once the green sensor light is solid, that blinking error should stop.
How to Align LiftMaster Garage Door Sensors ?

- Sensor Design: LiftMaster is part of the Chamberlain family, so LiftMaster sensors are essentially the same as Craftsman/Chamberlain sensors. One sensor (emitter) will have an amber/yellow LED and the other (receiver) a green LED. When functioning correctly, the amber light is steady and the green light is steady (aligned).
- Alignment Steps: For LiftMaster, loosen the wing nut on the front of the sensor (usually the receiving sensor) to adjust it. Aim the sensor until it “catches” the beam from the other side – you’ll know because the green LED will light up solid. At that point, tighten the wing nut to lock the sensor in position. Repeat on the opposite side if needed (usually one side is adjustable while the other is fixed).
- Verify Operation: With both sensors’ LEDs glowing steadily, test the door. The door should close fully when you press the remote. If the door closes, then immediately reopens, or the opener lights blink, the sensors might still be off — recheck their alignment. In most cases, a steady green light means alignment is correct and the LiftMaster opener will resume normal operation.
- Troubleshooting: If alignment is correct but you still have issues, ensure nothing else is causing problems. For example, direct sunlight on sensors or damaged wires can mimic misalignment (see Troubleshooting below). But generally, with LiftMaster sensors, getting that solid green light on the receiver is the key indicator that they’re lined up properly.
How to Align Genie Garage Door Sensors ? (Safe-T-Beam System)
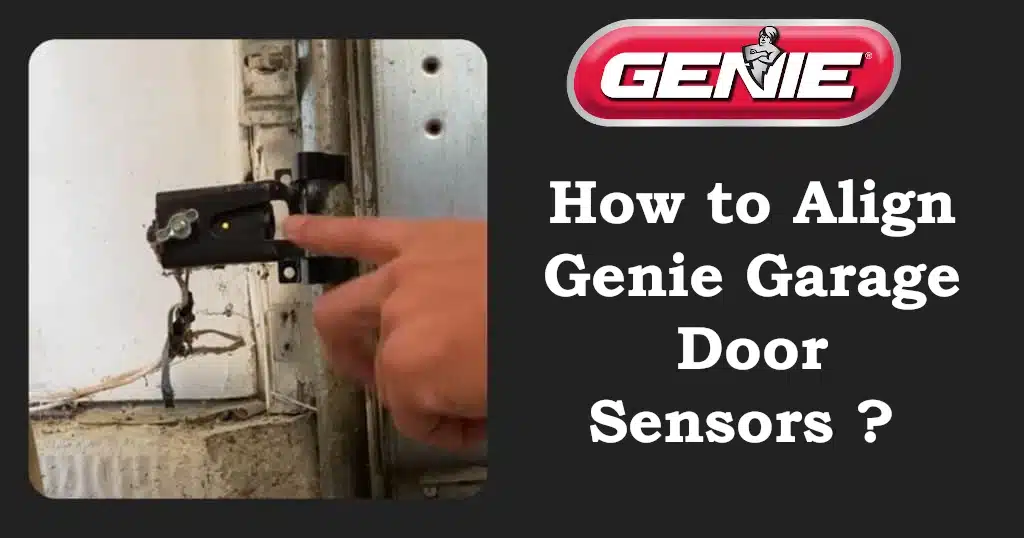
- Sensor Design: Genie uses the Safe-T-Beam sensor system. The two sensors are distinct: one has a red LED and the other a green LED. The red LED unit is the transmitter (sending the infrared beam) and the green LED unit is the receiver. For the Genie system to allow the door to close, both the red and green LEDs should be solid (not blinking), indicating proper alignment and communication between the sensors.
- Alignment Steps: Aligning Genie sensors is similar to other brands: loosen the mounting wing nut or screws on each sensor’s bracket, then adjust the sensors. Point the sensors directly at each other until both LED lights are on solid. Usually, you’ll adjust the receiving (green LED) sensor, since the transmitter just needs to face straight across. As you slowly pivot or slide the green sensor, watch for its LED to go from off or blinking to a steady green. The red LED on the sending sensor should be on as long as it has power. Once the green LED stays lit continuously (and the red LED is on), tighten the brackets to hold them in that position.
- Common Issues: Genie sensors can be sensitive to bright light. If you’ve aligned them but the green LED still flickers, check for direct sunlight hitting the receiver. Sunlight interference can prevent the Genie’s receiver from “seeing” the infrared beam. In such cases, you might need to shade the sensor or adjust its angle slightly (even a temporary cardboard visor over it) to block sunlight. Also, ensure the sensors are no more than ~6 inches above the floor (standard placement). After alignment, test the door; a properly aligned Genie Safe-T-Beam will allow the door to close normally, and the door will reverse when the beam is broken (just like other brands). If the door still doesn’t close and one of the sensor LEDs is blinking, re-check the alignment or consult the troubleshooting section.
How to Align Chamberlain Garage Door Sensors ?
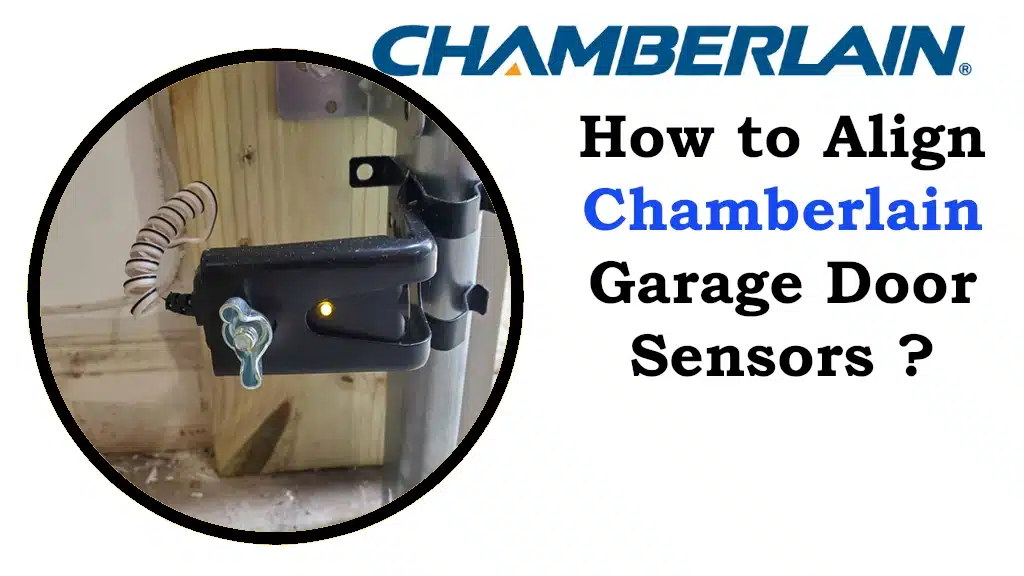
- Sensor Design: Chamberlain sensors are virtually identical to LiftMaster (and Craftsman) sensors, as they are made by the same company. Expect one sensor with a yellow (amber) LED and one with a green LED. The yellow LED (on the sending sensor) should glow steadily whenever the opener is powered, and the green LED (on the receiving sensor) will light up only when the sensors are perfectly aligned and unobstructed.
- Alignment Steps: Use the general alignment procedure for Chamberlain sensors. Loosen the sensor bracket wing nut, adjust the sensor until the green LED comes on solid, then tighten the bracket securely. It often helps to adjust one sensor at a time; usually the receiver (green light) is the one you fine-tune. Make sure both sensors are facing each other head-on at the same height. When the alignment is correct, the green sensor light will be steady, not flashing, indicating the beam is being received.
- Confirm and Test: With Chamberlain systems, a successfully aligned sensor pair will allow normal operation. Close the garage door with the remote – it should go down smoothly. If alignment is off, the garage door opener’s light may flash (often 10 blinks) and the door will refuse to close. After aligning, that error should clear. Always test the safety reversal: block the beam during closing to ensure the door reverses. This test confirms the sensors are working as intended to protect you and your property.
- Tip: If you find yourself repeatedly realigning Chamberlain (or LiftMaster) sensors, inspect the brackets and the area around them. Loose mounting screws or even vibration from the opener can cause them to shift. Tighten everything and consider using a level or measuring tape to double-check they remain at the same height on both sides. Once properly secured, they should stay aligned during regular use.
Troubleshooting Common Issues
Even after alignment, you might encounter some persistent issues. Here are common problems and troubleshooting steps:
- Sensor LEDs Off or Flashing: If one or both sensor lights are still off after alignment, first clean the sensor lenses – dirt or cobwebs can block the beam. Verify that the sensors have power (wires firmly connected, no cuts or damage). A flickering or blinking LED usually means the sensor is almost aligned but not quite; try fine-tuning the sensor position. It can help to loosen the bracket slightly and adjust the sensor up/down or left/right in tiny increments until the light is solid. Remember that on Chamberlain/LiftMaster units, the green light should be solid when aligned, and on Genie, the green (receiver) should be solid green and red (transmitter) solid red.
- Door Still Won’t Close (Sensors Seem Aligned): If both sensor lights are on and not blinking, but the door won’t close via remote, a few things could be wrong:
- Wiring issue: The sensor wires might have a loose connection or a break. Inspect the wires from each sensor back to the opener for any disconnections or damage. A staple could have cut a wire or a connection at the opener might be loose. Secure any loose wires and repair any breaks.
- Sunlight or glare interference: Bright sunlight shining directly into the sensor can mimic an obstruction. This is more common with Genie sensors, but it can affect any photo-eye. If the problem happens only at certain times of day (e.g. sunny afternoons), consider shading the sensor or swapping sides (for Genie, the green sensor should be on the side less exposed to sun).
- Sensor damage: If a sensor was bumped hard (e.g. by a car or lawn mower) it could be internally damaged. In that case, alignment won’t fix the issue and the sensor may need replacement. One clue is if an LED never comes on at all even after checking wiring – a completely dead sensor.
- Door Starts Closing then Reverses: This typically indicates the sensors think something interrupted the beam. If alignment is good (steady lights) and lenses are clean, the culprit might be vibration or a loose bracket. The motion of the door could be shaking a sensor just enough to misalign it momentarily. Make sure the sensors are tightly secured. Additionally, ensure the tracks or frame holding the sensors aren’t flexing. In rare cases, electromagnetic interference or having two garage door opener units close together can cause sensor crosstalk (Genie Safe-T-Beam systems can interfere if two opener beams cross each other). Ensuring each opener’s sensors are aimed only at their partner sensor (not the neighbor’s) will solve this.
- One Sensor Light is Yellow/Red: Most brands use two different colored LEDs on the sensors. Typically, one will glow amber/yellow or red to show it’s transmitting. If the other sensor’s light is green/off when trying to close the door, that means it’s not receiving the signal. Realignment or cleaning is needed until that green light comes on. If the amber (or red) light is off, that transmitter isn’t working – check its wiring. Often, green means go (aligned) and any other state means there’s an issue. For example, a Chamberlain receiver sensor showing a dim or flickering green could mean a misalignment by a small margin – adjust until it’s bright and steady.
- Opener Lights Flashing Error Codes: Many openers will flash their lightbulbs or display an error code when sensors are faulty. As noted, Chamberlain-family openers flash 10 times for sensor problems. Genie openers may flash red LED error codes on the unit or on the sensors themselves (e.g., a Genie sensor blinking several times can indicate alignment or wiring errors). Consult your opener’s manual if you see a specific blink pattern. In most cases, resolving the alignment or wiring will clear the error. After any fix, you may need to cycle the opener (unplug and plug back in) to reset the error indicator.
Safety Precautions to Align Garage Door Sensors
- Disconnect Power: Always cut power to the garage door opener before aligning sensors. Unplug the opener or switch off the circuit breaker for the garage. This prevents the door from moving unexpectedly and eliminates electrical risk while you work.
- Keep Door Secured: If the garage door was stuck open due to sensor issues, ensure no one attempts to operate it while you’re working. Consider having someone help or prop the door (if partially open) to avoid any chance of it slamming down.
- Avoid Standing Under the Door: Do not stand directly under the door’s path while adjusting sensors or when restoring power. When you test the door, stand clear of the door’s path to avoid injury if something isn’t aligned correctly.
- No Bypassing Sensors: Never permanently bypass or disable the safety sensors. They are a vital safety feature – only override them temporarily (by holding the wall control button, for example) if absolutely necessary and only while you are present to monitor the door.
- Work Carefully: Use caution with tools around the door tracks. Take your time when loosening or tightening sensor brackets to avoid slipping. If using a step stool or kneeling, be mindful of your balance.
Final Advice:
Once your garage door sensors are aligned and the door is operating correctly, keep the sensor area clear. Avoid knocking them out of position when moving items around your garage. Periodically wipe the sensor eyes to remove dust. By following the steps above and the brand-specific notes, you’ll ensure your Craftsman, LiftMaster, Genie, or Chamberlain garage door sensors remain in sync and keep your garage door functioning safely and smoothly.
If you’ve tried all the above and the sensors still won’t cooperate, it might be time to call a professional, as there could be a deeper issue at play beyond alignment. But in most cases, a careful realignment will have your garage door back on track, closing properly while protecting your loved ones and belongings.
Sources and References
This guide is based on reliable sources and official manufacturer manuals. For more detailed information, check out:
- LiftMaster Sensor Alignment Guide – Official instructions for properly aligning LiftMaster and Chamberlain garage door safety sensors.
- LiftMaster 8365-267 Installation Manual – A detailed manual in French explaining installation and alignment steps for LiftMaster 8365-267 safety sensors.
- Garage Door Sensor Alignment Video – A step-by-step YouTube guide demonstrating how to align LiftMaster safety sensors.
- Genie Safe-T-Beam System Guide – Comprehensive guide on how to align and troubleshoot Genie Safe-T-Beam garage door sensors.
- Chamberlain Garage Door Sensor Manual – Official Chamberlain instructions for sensor alignment and troubleshooting common issues.
- Garage Door Sensor Troubleshooting Forum – A community-driven forum discussing solutions for misaligned garage door sensors and common troubleshooting steps.
- Garage Door Safety Sensor Replacement Kit 41A5034 – A replacement kit compatible with Craftsman, Chamberlain, and LiftMaster garage door openers manufactured after 1997.


