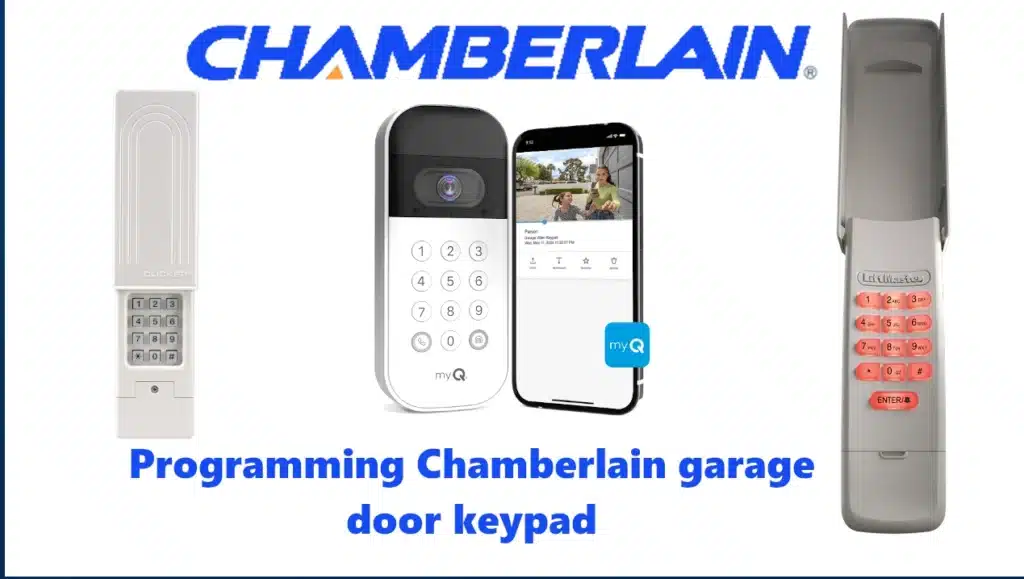
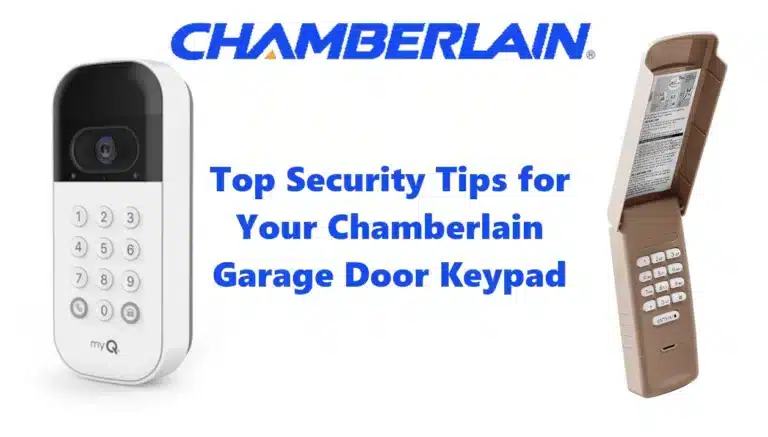
Programming your Chamberlain garage door keypad consists of two main steps: setting a PIN code on the keypad and syncing it with your garage door opener. You’ll also need to know how to change your PIN later, add extra PINs for additional openers or users, and possibly reset either the keypad or the opener when needed. Here’s everything you need to know.
Programming a New Chamberlain garage door keypad
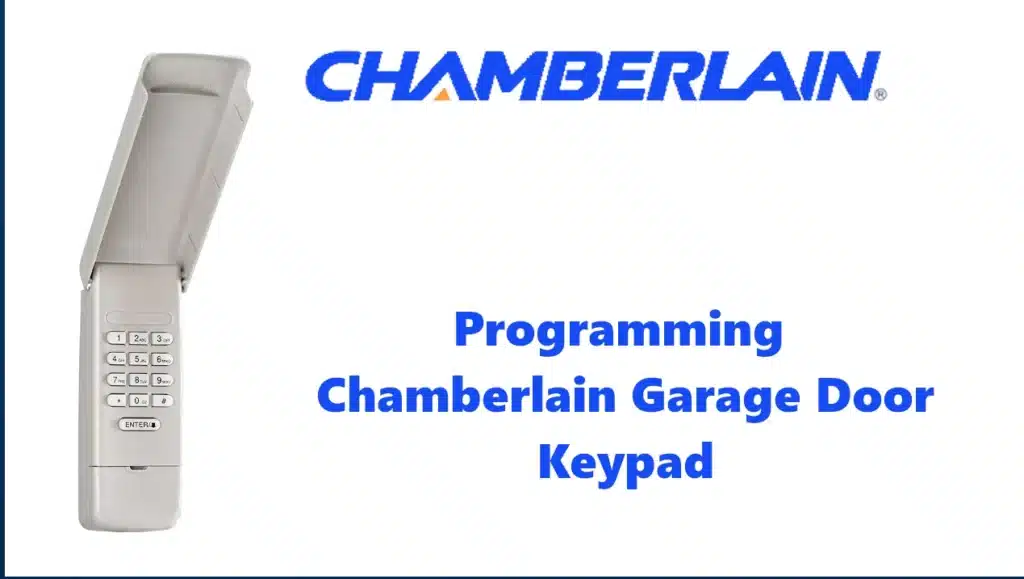
When installing your keypad for the first time (or after a factory reset), you’ll need to pair it with your garage door opener. The exact process may vary slightly by model, but the most common method for Chamberlain and LiftMaster openers is as follows:
Put the Garage Door Opener in Learn Mode:
Locate the Learn button on your Chamberlain garage door opener (usually found on the motor unit hanging from the ceiling). It’s typically on the back or side of the unit, near the antenna or under a light cover. The button may be color-coded (yellow, purple, red/orange, or green) and labeled “Learn” or “Learn Code.” Press the button once. An LED next to it will light up—often amber or orange—and stay on for about 30 seconds, indicating that the opener is ready to pair with a new device.
Note: Once you press the Learn button, you have around 30 seconds to complete the pairing. If you’re alone, press Learn and then quickly go to the keypad.
Enter Your Chosen PIN on the Keypad:
At the keypad, enter a 4-digit PIN that you’ll remember (avoid easy codes like 1234 or your address). Then press and hold the ENTER (✳) button. Continue holding until you see the garage door opener light blink or hear two clicks from the unit. On most models, a light flash confirms successful programming (if there’s no bulb, you might hear a click). After that, you can release the ENTER button. Note: some models may require pressing ENTER multiple times instead of holding it, depending on the opener. However, for most Chamberlain openers with a Learn button, holding ENTER works best.
Test the PIN:
Wait about 10 to 15 seconds, then test your code. Enter the 4-digit PIN on the keypad and press ENTER. The garage door should open or close. If it does, you’re all set. If not, double-check the steps and try again. Timing can be sensitive, so be sure the Learn mode was active. Generally, the process is simple: press Learn, enter your PIN, and press ENTER.
This method works for Chamberlain, LiftMaster, and Craftsman openers with a functioning Learn button and Security+ technology or newer. Chamberlain’s support says it clearly: “Enter a 4-digit PIN of your choice on the keypad, then press and hold the ENTER button until the garage door opener light blinks. This means the PIN is set.” (This assumes you’ve already pressed the Learn button first, though some manuals present the steps in a different order.)
Programming The Clicker Universal Keypad
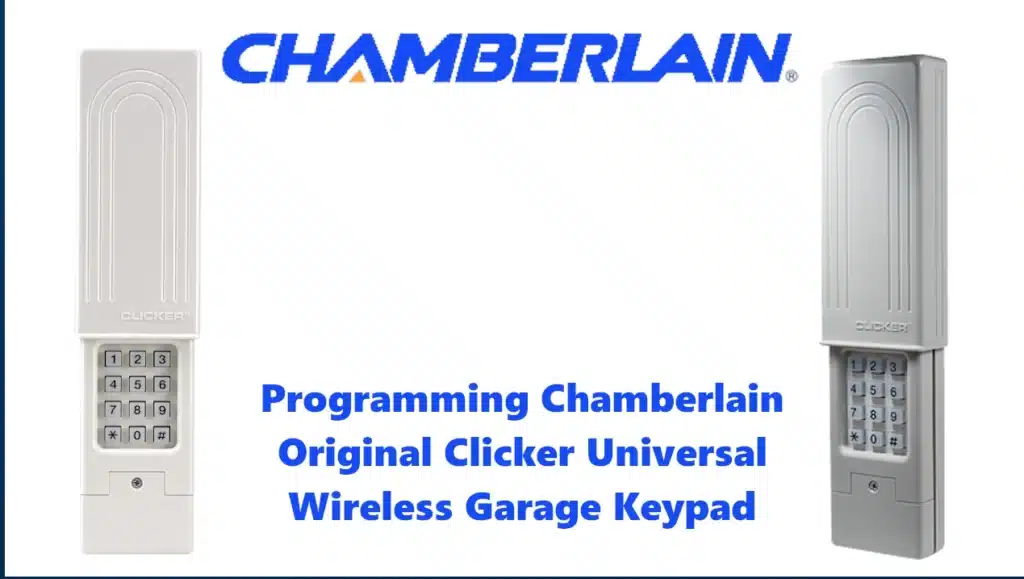
with a non-Chamberlain opener, there’s an extra step to select the brand or frequency. For example, with the KLIK2U model, you’d start by pressing and holding the * and # keys until the lights stop blinking. Then you’d enter a specific key sequence based on your opener brand (e.g., press “1” for yellow Learn button, “2” for purple, “3” for Genie Intellicode, etc.).
After that, you’d proceed to enter your PIN and press ENTER. This process configures the keypad’s internal radio to match your opener. If you’re using a Clicker keypad with a different brand, it’s best to refer to the instruction manual or quick-start guide, as the steps vary slightly by brand. The good news is that Clicker keypads use LED feedback to guide you, and they support a wide range of opener types—from older DIP-switch systems to modern rolling code models.
For most people using Chamberlain or compatible openers, the Learn button plus PIN method will do the trick. Once programmed, the opener treats the keypad like a remote control. (Technically, the opener stores each PIN as a unique transmitter ID. If you program multiple PINs, each is stored separately, but you don’t need to worry about that level of detail.)
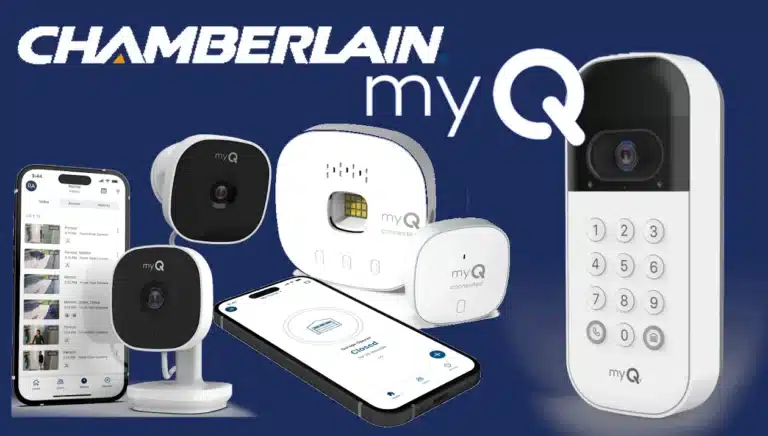
Programming the myQ Smart Video Keypad
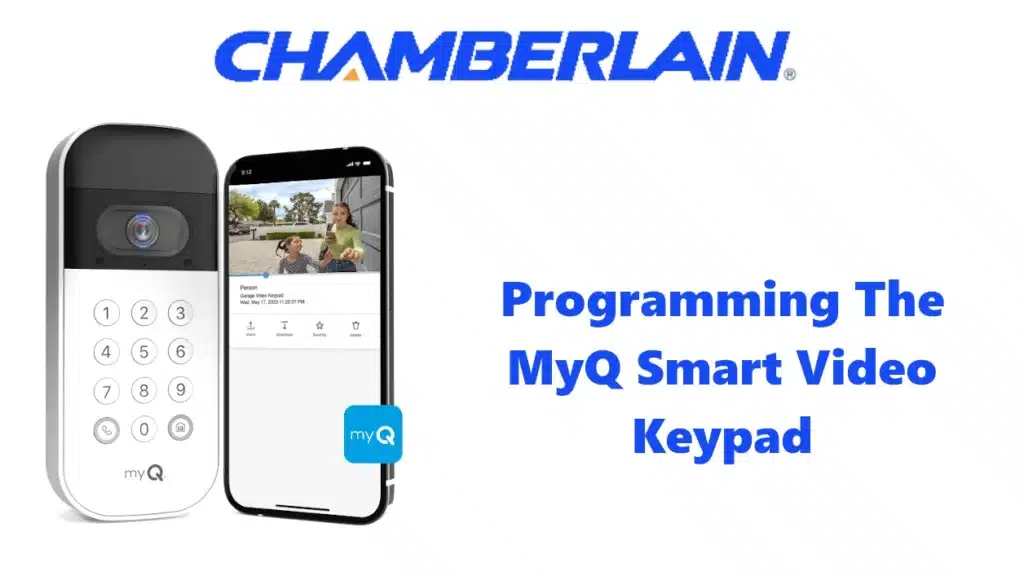
The myQ Smart Garage Video Keypad is a bit different because it works with the myQ app. The underlying connection to the garage door opener still uses the Learn button, but setup is guided through the app.
You start by adding the video keypad as a new device in the myQ app. The app will prompt you to press the Learn button on your opener. The keypad uses Bluetooth to connect with your phone and receive your Wi-Fi network information. From there, the app either instructs you to put the opener into Learn mode or sends the signal itself.
Once connected, you’ll set your PIN codes directly in the app rather than entering them on the keypad. You can create multiple personalized PINs (e.g., for “Kids” or “Neighbor”), and each time they’re used, the app will record the event and notify you.
Because of the extra smart features, the video keypad setup goes beyond a simple step-by-step guide. But don’t worry — the myQ app provides clear instructions, and once it’s configured, entering PINs on the device works just like a regular keypad.
Sure! Here’s a conclusion that wraps up your section on programming and resetting Chamberlain garage door keypad PIN codes:
Conclusion
Programming your Chamberlain Garage Door Keypads—whether it’s a standard model, a universal Clicker, or the smart myQ video version—is a simple and reliable way to secure convenient access to your garage. With just a few steps, you can create a custom PIN, sync it with your opener, and even set up multiple codes for family members or temporary visitors. The Learn button method makes syncing fast, while the myQ app adds smart control for those who want more advanced features.
Whether you’re installing a new unit, resetting your PIN, or expanding access to other openers, Chamberlain Garage Door Keypads are built with user-friendly programming and robust security in mind. No matter your setup, these keypads offer a blend of convenience, safety, and versatility that make managing your garage access easier than ever.

