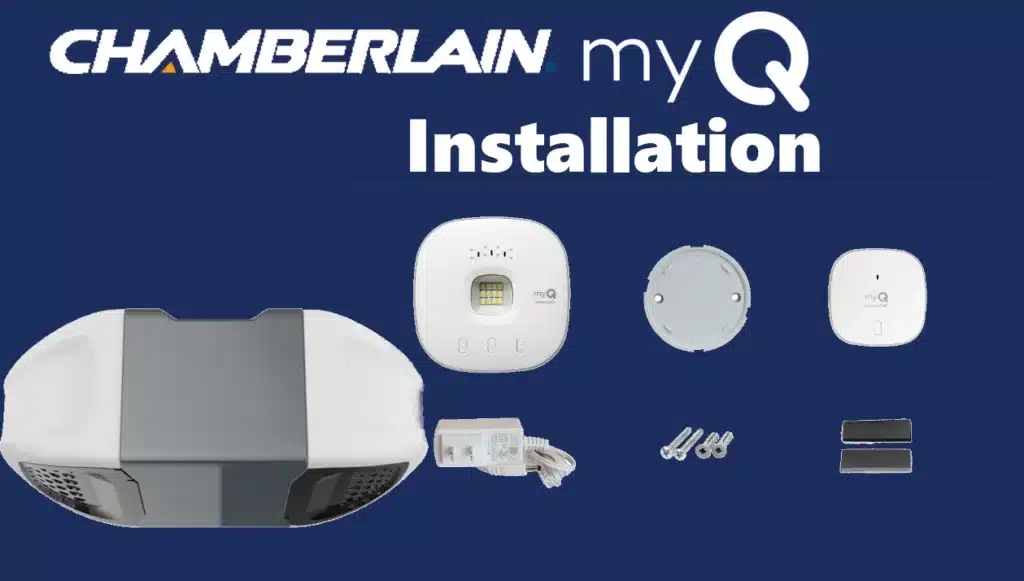
Installation of a Chamberlain myQ opener can be done DIY by a reasonably handy person, or by a professional installer. Chamberlain provides detailed instructions in print and via their BILT® 3D interactive app to guide users through the process. Here’s an overview of installation and setup:
Mechanical Installation:
The physical install is similar to any garage door opener. You will assemble the rail (trolley track), attach it to the motor unit, install the idler pulley and belt/chain, and then hang the motor unit from the ceiling joists. Chamberlain openers include angle iron brackets and hardware for mounting. You’ll also mount the header bracket above the door and connect the door arm from the trolley to the door itself.
A garage door opener installation typically takes 2-4 hours for a first-timer. Chamberlain’s Buyer’s Guide suggests: ensure you have a strong Wi-Fi signal in the garage beforehand (you can test with your phone), watch a how-to video for familiarity, and clear the area in your garage for safe working space.
The BILT smartphone app can show you 3D, step-by-step animated instructions specific to your model, which many users find helpful. Common tools needed include a ladder, drill, wrenches, sockets, and a screwdriver. If your garage door is particularly heavy or the install tricky (e.g., needing extra support framing), you might opt for professional installation.
Safety Sensors:
All modern Chamberlain openers require installing the infrared safety sensors that come in the box. These mount on either side of the garage door near the floor (usually 4–6 inches off the ground) and must be aligned facing each other. They plug into the opener’s motor unit with low-voltage wires (Chamberlain provides pre-stripped wire for this). Properly aligning the sensors (so the green LED on the receiving sensor stays steady) is crucial – if misaligned, the door will refuse to close (or auto-reverse). Mounting and wiring the sensors is a straightforward step but must be done for the system to function.
Programming and Setup:
Once the hardware is installed, you’ll program the opener’s travel and force settings. Chamberlain openers have an automatic travel set feature: you press the learn button and cycle the door open and closed to teach it the full up and down positions. Some models have automatic force sensing; others might have manual adjustments for up/down force. You’ll also program the remote controls at this stage (usually by pressing the Learn button and then the remote button). The included wireless keypad (if any) can be programmed with a PIN code following the manual instructions. All these steps are in the printed manual, and typically the LED on the unit and audible beeps guide you through the programming modes.
Connecting to Wi-Fi (MyQ Setup):
The final step is to get the opener online for myQ app control. Ensure you have your Wi-Fi network name and password handy. The process is generally: download the myQ app on your smartphone, create or log in to your MyQ account, and choose “Add Device –> Garage Door Opener”. The app will guide you to put the opener in pairing mode. Newer models with Bluetooth will often connect directly to your phone to transfer the Wi-Fi credentials.
On others, you may have to go to your phone’s Wi-Fi settings and connect to the temporary “myQ-XXXX” network that the opener broadcasts, then return to the app to give it your home Wi-Fi info. After a short while, the opener should successfully join your network (indicated by that green LED).
Tip: The opener only connects to 2.4 GHz Wi-Fi, so if you have a dual-band router with a single SSID for both bands, you might need to temporarily disable 5 GHz or use a guest network on 2.4 GHz for setup. Also, the opener will not connect to Wi-Fi networks that require a web portal login (like some apartment complex Wi-Fi) – you need a standard router with WPA/WPA2 security.
If the myQ device won’t connect despite correct credentials, double-check that your router isn’t using WPA3-only security or very long passwords, which could be incompatible – setting your router to a mixed WPA2 mode often helps. Once the opener is online, the app will prompt you to name your device (e.g., “Garage Door”) and you can test the remote functions through the app.
Calibration and Testing:
After setup, test the safety reversal by obstructing the door path – the door should reverse upon hitting an object or breaking the sensor beam. Adjust the sensor alignment or force settings if necessary. Also test the battery backup if applicable: unplug the opener (and ensure the battery is connected); the unit should beep and still operate the door on battery power. The myQ app will indicate if the system is running on backup power in its status.
Wall-Mount Opener Specifics:
If installing the RJO wall-mount opener, the process differs: you mount the unit to the torsion bar of the door, secure it with set screws, and install the included automatic deadbolt on the door track (this bolt will auto-engage when the door closes, adding security). The wall-mount unit also needs the cable tension monitor installed (a sensor that detects if the door’s cables go slack, preventing spools from unwinding).
These steps are clearly diagrammed in the RJO manual. Once mechanical install is done, the programming of limits and the Wi-Fi setup is similar (the RJO70 has a learn button and LED indications just like overhead units). It’s a more advanced install – if your torsion bar is not compatible or if you’re uncomfortable adjusting torsion springs, professional installation is advised.
Support Resources:
Chamberlain provides multiple support channels: the included manual is step-by-step; the BILT app for 3D instructions; and there are official how-to videos on Chamberlain’s support site and YouTube for things like “connecting your Wi-Fi opener” or troubleshooting. If you run into issues, Chamberlain’s support site has an extensive FAQ knowledge base. For example, if the opener won’t connect to Wi-Fi, they suggest checking that the Wi-Fi signal in the garage is at least 2 bars and that the router isn’t blocking the required ports (port 8883 is used by myQ).
Installation Tips:
Make sure the garage door is in good working order (springs and hinges) before installing any new opener; the opener is not a substitute for a balanced door. During installation, support the opener unit securely on a ladder before it’s hung, to avoid it falling. When running the sensor wires and wall control wires, use the provided staples carefully (do not short the wires).
Perform the “learn” of any built-in car remotes (HomeLink) after the opener is fully installed and powered – you’ll use a ladder to press the learn button and then your car’s remote button to pair. Lastly, take advantage of the MyQ Compatibility Tool on Chamberlain’s website if you’re adding myQ to an existing system – it helps verify that your opener (if it was older) is compatible with myQ either via built-in Wi-Fi or the add-on hub.
Once installed and connected, using the opener day-to-day is straightforward and the myQ smart features will be at your disposal. Maintaining the opener involves occasionally checking the battery (if equipped), keeping the rail lubricated, and ensuring sensors stay aligned and lenses clean. The myQ app will sometimes send maintenance tips or alerts (for example, it can notify you if it detects excessive door vibrations or if the opener’s battery is low).

