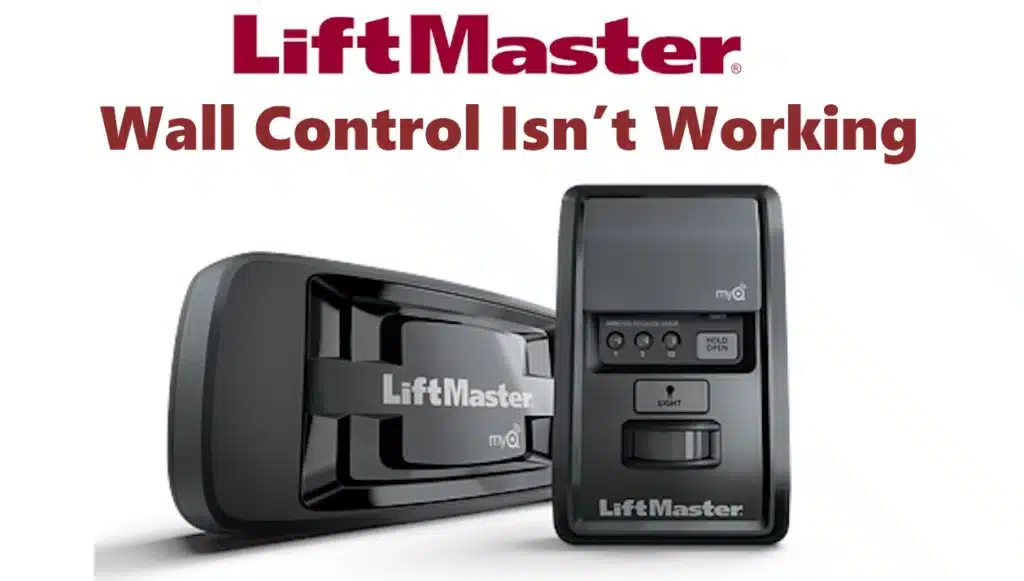
If the hardwired wall switch (wall control panel or doorbell-style button mounted inside your garage) isn’t working, use these tips to troubleshoot:
Check for Power to the Opener:
First, verify that the opener has power and is operational. If the opener’s lights are off and it doesn’t work via remote either, the wall switch not working is part of the larger no-power issue (see No Power to the Opener). However, if the remotes do operate the door but the wall control doesn’t, then power is not the problem – it’s likely the wall control or its wiring at fault.
Inspect the Wall Control’s LED/Backlight:
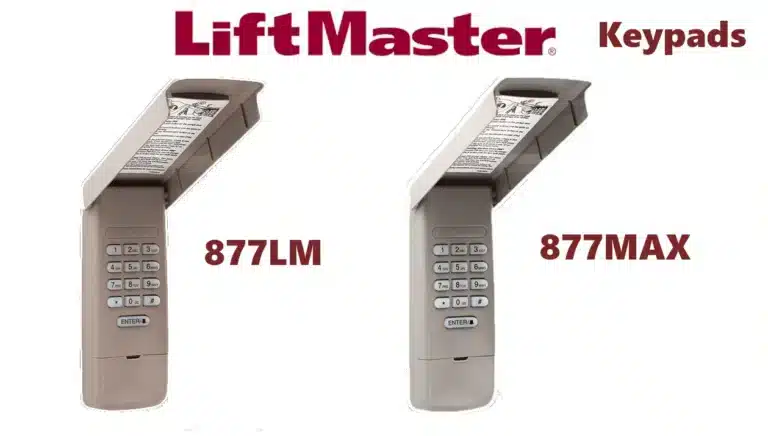
Many LiftMaster wall consoles have an LED indicator or backlit display. If that light is completely off (and other parts of the opener are powered), it indicates that the wall control is not getting power or the wiring is disrupted. A steady light on the wall control is a sign it has power. If it’s lit but pressing the button does nothing, the issue could be a broken button or a wiring short.
Examine the Wires at Both Ends:
The wall control connects to the opener’s motor unit via two low-voltage wires. These wires should be securely attached under the correct terminals on the opener (typically red and white terminals, or labeled for wall control). Likewise, at the wall button, the wires must be firmly connected. Look for loose or broken wires along this path – a staple may have cut the insulation or the wire might have come off a terminal. If the wires are shorted (bare copper strands touching each other or metal), the door control will not function. Fix any obvious breaks and reattach any loose connections.
Bypass/Test the Wall Control:
To determine if the wall switch device itself is bad, you can carefully touch together the two wires at the wall control (with the opener powered). This simulates pressing the button. If the door runs when you short the two wires, the wires and opener are fine and the wall button mechanism is likely defective. Alternatively, you can do this test at the opener terminals: use a screwdriver to briefly connect the two terminals for the wall control – if the door activates, the circuitry is fine. In either case, a non-responsive wall button panel would need replacement.
Check for Wiring Reversal (for Digital Panels):
If you recently replaced a standard doorbell button with a smart wall control panel (the kind with displays or motion sensors), ensure the two wires weren’t swapped in polarity. Some advanced panels (like the Smart Control Panel) are sensitive to proper wiring. Most LiftMaster wall controls, however, are not polarized – they simply connect across two terminals. Reversing usually doesn’t matter, but consult the instructions to be sure.
Replace the Wall Control if Needed:
If you’ve determined the wall switch is getting power (perhaps its LED is on) and the wiring is intact, but it still doesn’t activate the door, the device could be faulty. A new compatible wall control can be installed by connecting the two wires to its terminals. Also, remember that a short in the wall control wires can mimic a bad switch – the opener might ignore the wall control if it senses a constant short.
Inspect the entire run of wire for crushed sections or staples through it. In one of the LiftMaster diagnostic codes (see table below), a “1-3” code signifies the door control wires are shorted or the control is bad. The fix in that case is to repair the wiring or replace the control.
In summary:
Focus on the wall control wiring continuity. Often, no response from the wall switch is due to a wiring issue (disconnected or shorted wires) rather than the opener itself. Once fixed, the wall button should open/close the door reliably.

