Program Chamberlain garage door remote involves two key pieces: the remote control itself and the garage door opener’s “Learn button” (sometimes called a SMART/Learn button). Below is a comprehensive guide for first-time users, covering how to identify the Learn button and step-by-step programming instructions for popular Chamberlain remotes: the 953EV visor remote, 950 series keychain remotes, and the KLIK3U universal remote. Each section includes clear steps and tips, with references to official sources for accuracy.
Identifying Learn Button On Chamberlain Garage Door Opener
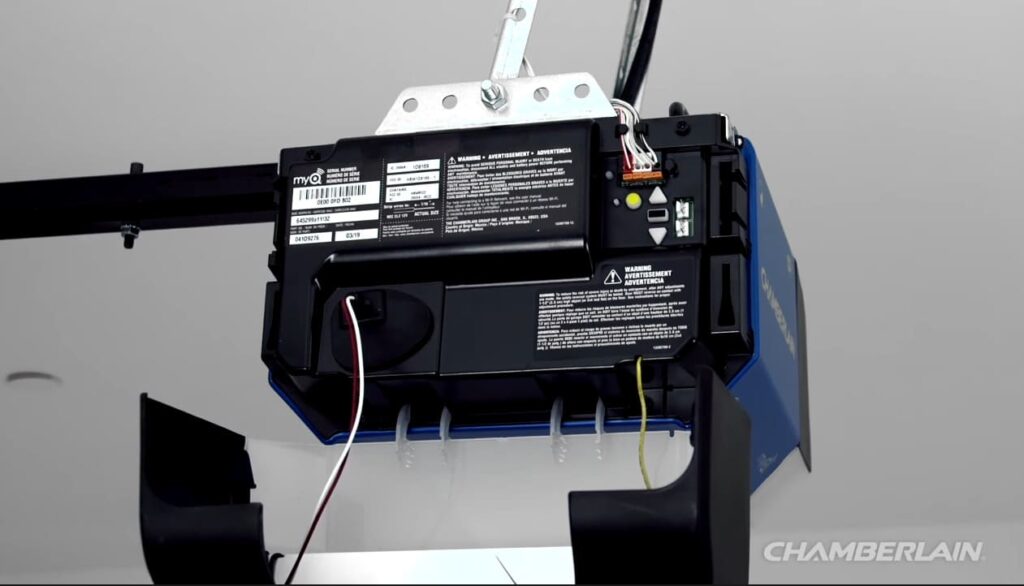
Before programming any remote, locate the Learn button on your garage door opener unit:
- Location: The Learn button is usually on the opener’s motor head, above the hanging antenna wire, often under the light lens cover (you may need to open or remove the light cover to see it).
- Appearance: It is a small, square button (LED nearby) that can be different colors depending on the model year. Chamberlain (and compatible LiftMaster/Craftsman) openers commonly have Learn button colors of green, red/orange, purple, or yellow. The color typically indicates the opener’s radio frequency/technology.
| Color of Learn Button | Frequency | Number of Presses |
|---|---|---|
| Yellow | Security+ 2.0 | 1 |
| Purple/Brown | Security+ 315MHz (Rolling Code) | 2 |
| Red/Orange | Security+ 390MHz (Rolling Code) | 3 |
| Green | Billion Code 390MHz | 4 |
- Older Openers: If you do not find a Learn button (e.g. on very old units from the 1980s), your opener may use DIP switches instead. In that case, you’d match the remote’s switch settings to the opener’s – but for 1993 and newer Chamberlain openers, a Learn button is present and is used for programming remotes.
Why is the Learn button important? Pressing this button puts the opener in “learning mode” so it can accept a new remote. We will use it in the programming steps below.
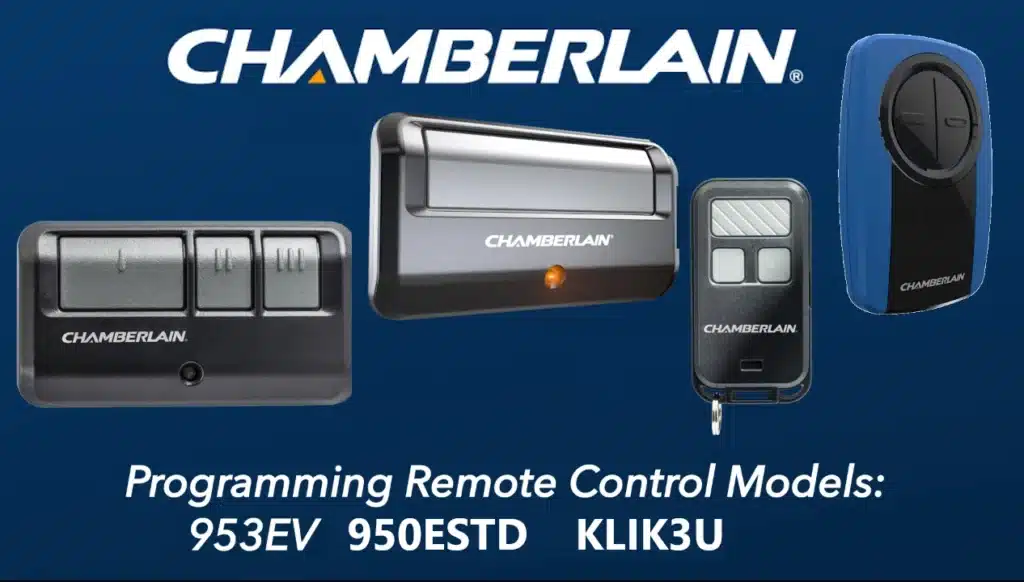
How to Program Chamberlain’s 953EV Remote Controls ?
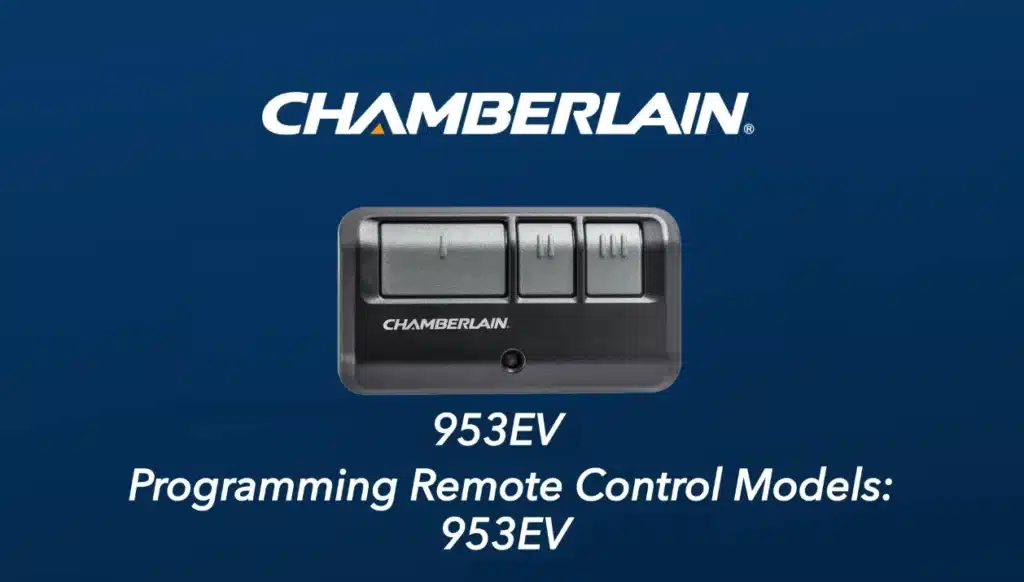
The Chamberlain 953EV is a popular 3-button remote that can control up to three openers. It is compatible with nearly all Chamberlain openers made since 1993 (it uses different signals for different Learn button colors). 953EV-P3 is a package/version of the same model. Follow these steps to program a 953EV remote to your opener:
- Prepare the Remote: Locate the Program button on the 953EV remote. It’s a small recessed button on the back of the remote (you may need to remove the visor clip to find it). Using a pen or paperclip, press and hold the Program button until the LED on the front of the remote lights up solid. This puts the remote in programming mode.
- Set the Remote’s Code (per Opener Type): While the remote’s LED is on, press and release the remote button (one of the three) a specific number of times to match your opener’s Learn button color/protocol. Use the guide below to select the correct number of presses:
- Yellow Learn button (Security+ 2.0) – press 1 time
- Purple Learn button (315 MHz Security+) – press 2 times
- Red/Orange Learn button (390 MHz Security+) – press 3 times
- Green Learn button (390 MHz “Billion Code”) – press 4 times
(This step tunes the remote to the right signal frequency/type for your opener.)
- Exit Remote Programming: To lock in the code, exit programming mode on the remote. Do this by pressing any other remote button (a different button than the one you just programmed) once. The remote’s LED should turn off. The remote is now ready to be learned by the opener.
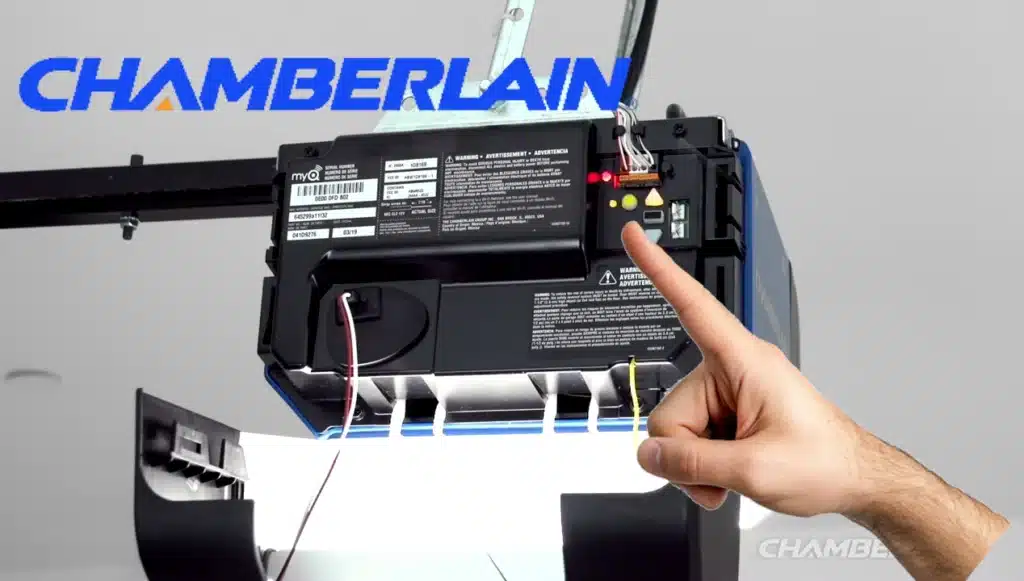
- Activate the Opener’s Learn Mode: Climb a stable ladder to your garage door opener and press and release the Learn button on the opener. The Learn LED next to it will light (steady glow) to indicate the opener is in learn mode (older models stay in learn mode for ~30 seconds; newer models with a yellow button may stay in learn mode for up to 2 minutes).
- Teach the Opener the Remote: Within the learn period, go back to your 953EV remote and press and hold the same remote button you chose in Step 2 (the one you pressed 1–4 times). Hold it until the garage door opener’s light blinks or you hear two clicks from the opener. This blink/click means the opener has learned the remote. Release the remote button once this happens.
- Test the Remote: Press the programmed button on your 953EV remote like you normally would. The door should activate (open/close). If it does not, repeat the steps above, ensuring you pressed the correct number of times for the opener type. In most cases, the process will succeed if done correctly (the opener can store multiple remotes in its memory). Note: If you are programming additional buttons (for additional doors), repeat Steps 1–5 for each button/opener.
Sources: The above procedure is based on Chamberlain’s official instructions for the 953EV Remote (which requires selecting the opener type by number of button presses). The learn-button programming method is confirmed by the Chamberlain manual, which states: “Press and release the ‘Learn’ button… Within 30 seconds, press and hold the remote button… release when the opener lights flash”.
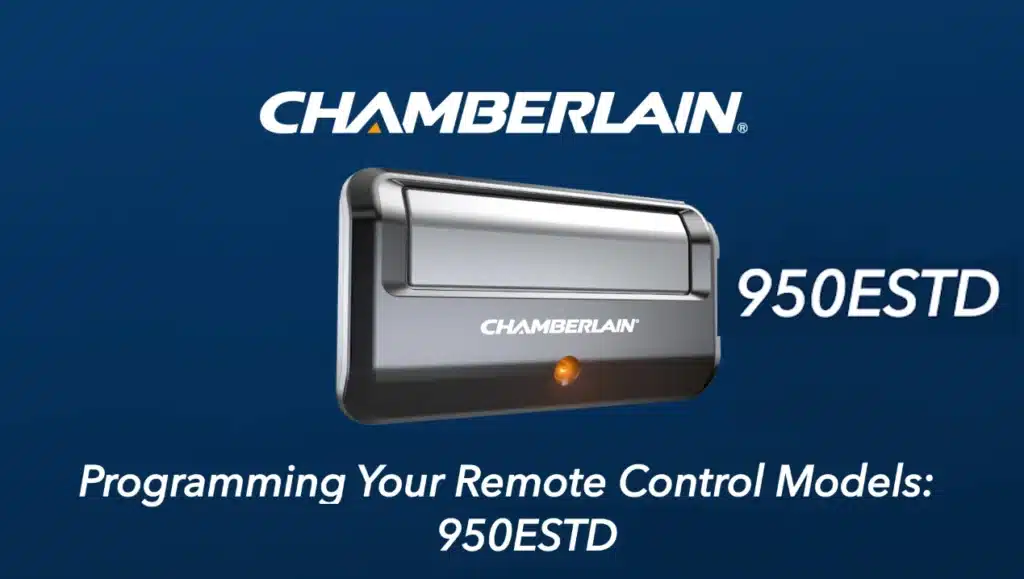
How to Program Chamberlain’s 950 Series Remote Controls (950ESTD, 950CB, 950D) ?
Chamberlain’s 950 series are single-button remotes often used on keychains. These remotes program in a similar way, though their compatibility varies by model:
- 950ESTD is a Security+ 2.0 remote (for openers with a Yellow learn button, typically 2011 and newer models).
- 950CB is an older Security+ remote (for openers with Orange/Red learn buttons, late 1990s–2000s).
- 950D (and other variants like 953D) were typically for Purple learn button openers (mid-2000s).
Important: Ensure your 950-series remote is compatible with your opener’s Learn button color. (For example, a 950CB will only work with an opener that has an orange/red Learn button.) If in doubt, use the 953EV or KLIK3U universal remote instead, as those cover all colors.
Programming a 950-series 1-button remote is straightforward:
- Put Opener in Learn Mode: Press and release the Learn button on your garage door opener unit. The indicator LED next to the Learn button should come on (steady glow), giving you a window to program the remote (about 30 seconds for most older units, or up to 2 minutes for some newer units).
- Press the Remote Button: Within the opener’s learn window, press and hold the button on the remote (there is only one button on these remotes). Continue holding until the opener’s light blinks or you hear two clicks from the opener’s relay. This blink or click is the signal that the opener has stored the remote’s code.
- Release and Test: Release the remote button once the opener confirms the programming. Test the remote by pressing its button again – the door should operate (open or close). Done!
Usually, programming is that simple for the 1-button remotes – Learn button, then remote button. If the door doesn’t respond in testing, repeat the process, making sure the opener’s Learn LED was lit and that you held the remote button until the blink. There’s no need to do any multi-press coding with these specific remotes because each 950-series remote is pre-set to the correct frequency for the opener it’s meant to work with.
Sources: Chamberlain’s manual for these remotes outlines this procedure: “Press and release the Learn button… Within 30 seconds, press and hold the remote button… Release when the opener light blinks (or two clicks are heard)”. This applies to Security+ remotes like the 950CB (orange learn button) and similarly for other colors (with their corresponding remotes).
How to Program Chamberlain’s KLIK3U “Clicker” Universal Remote ?
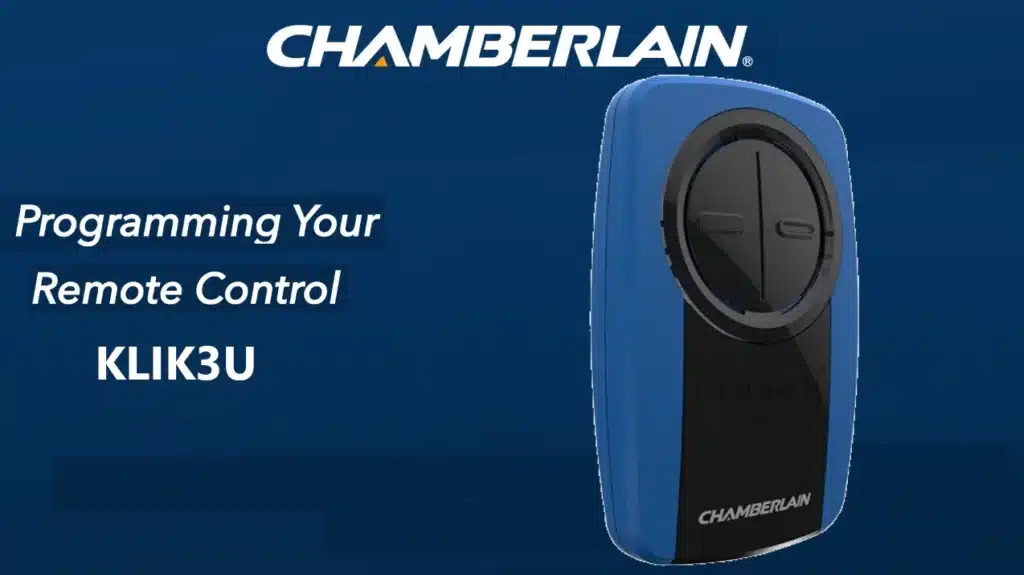
The Chamberlain Clicker KLIK3U is a universal remote that can be programmed to operate different brands of garage door openers. It has two buttons and can control two different doors (even from different manufacturers). We’ll focus on using it with a Chamberlain/LiftMaster opener (since that’s our scenario), but note that the KLIK3U can also learn older DIP-switch codes or other brand frequencies if needed.
Tip: If you previously programmed the KLIK3U for a different opener, you may need to clear it or reprogram it for the new one. It might be easiest to start fresh by following the steps below for your current opener.
Inside view of a Chamberlain KLIK3U Clicker universal remote (battery cover removed). The green arrow points to the small Program button used to set up the remote .
Follow these steps to program the KLIK3U remote to your Chamberlain garage door opener:
- Open the Remote & Enter Programming Mode: Slide open the battery cover of the KLIK3U remote. Inside, you’ll see a small programming button (often on the side, as highlighted in the image above) and in some models, DIP switches on the other side. Press and hold the Program button for about 2 seconds until the remote’s LED turns on (solid blue). The LED staying on indicates the remote is in programming mode.
- Activate the Opener’s Learn Mode: Now, go to your garage door opener and press the Learn button (same as in previous sections). Pressing it once should put the opener in learn mode (the Learn LED will glow steady). Make sure the garage door is closed and you have a stable footing while doing this.
- Send the Signal from the Remote: Back to the KLIK3U remote – decide which of the two large buttons you want to use for this door. Press and release that remote button. Wait a second, and if the door doesn’t react, press and release the same button again, and repeat. Essentially, you may need to press the remote button multiple times (pausing briefly between presses) until the garage door opener accepts the code. Watch for the opener’s light to flash or hear a click from the opener – that’s the sign it recognized one of the signals the remote sent. Note: The universal remote cycles through different code formats each time you press the button. It can sometimes take several presses to find the one that matches your opener – be patient. (In practice, it might click on the first try or might require, say, 4 or 8 presses; one user reported needing to press it 8 times before the opener responded.) Once the opener’s light flashes or the door activates, stop pressing – the correct code has been found.
- Exit Programming Mode: Press the Program button on the KLIK3U remote again to exit programming mode. The remote’s LED should turn off. The remote should now be linked to your opener.
- Test the Remote: Finally, press the button you just programmed on the KLIK3U as you normally would. The garage door should open/close. If it does, congrats – programming is successful. If the door does not respond, repeat the steps above. (Sometimes a missed timing or not pressing the remote enough times during step 3 can cause it to fail – simply try again, and it should work on the next attempt.)
Sources: The programming process for the KLIK3U is documented by Chamberlain and garage door experts. The key is the repetition in Step 3 – “Continue to press the button until you hear a click or the opener light flashes or the door opens”, which indicates the opener learned the remote. Chamberlain’s support instructions and veteran installers echo this approach, emphasizing that you may need to press the remote multiple times to cycle through the universal codes. Once learned, exiting programming (by pressing the program button again) saves the code.
Additional Tips and Troubleshooting
- Learn LED Timing: If the opener’s Learn LED stops blinking before you press the remote (or before the remote is learned), don’t worry – just press the Learn button on the opener again to re-enter learn mode. You typically have a generous window (30 seconds up to a few minutes) to complete remote programming.
- Clearing Old Codes: If you are having trouble programming because the opener’s memory is full (most openers can store 5-8 remotes), you can clear the opener’s memory (CAUTION: this erases all remotes). To do this, hold down the Learn button on the opener for about 6 seconds until the Learn LED turns off. This clears all remote codes from the opener. You would then reprogram any remotes/keypads you still use. Only do this if necessary.
- Matching Remote to Opener: Always use a remote compatible with your opener’s technology. Chamberlain’s documentation notes, for instance, that a 950CB remote works only with Security+ openers that have an orange/red Learn button, while newer Security+ 2.0 (yellow Learn) openers need remotes like the 950ESTD/953ESTD or any of the “EV” or universal series. If a remote will not program, double-check compatibility (Learn button color, year, or refer to the opener’s manual).
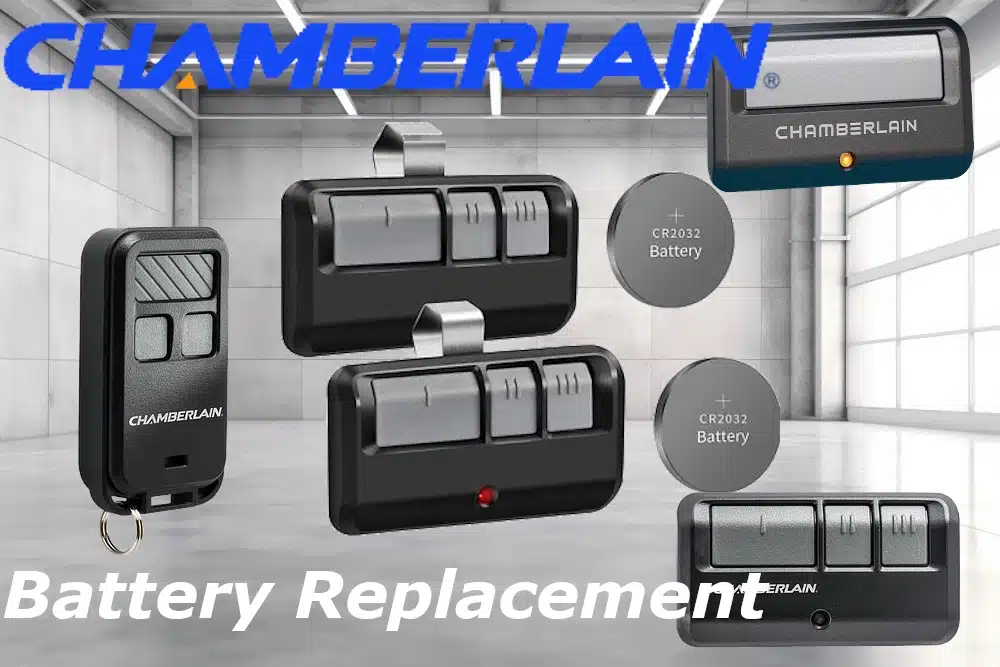
- Battery Check: If a remote isn’t programming, make sure its battery is good and inserted correctly. The LED on the remote should light when you press a button. If not, replace the battery (most Chamberlain remotes use a 3V coin-cell like CR2032).
- Use Official Guides/Videos: Chamberlain provides quick programming videos and manuals on their support website. Referencing these can be helpful if you prefer visual instruction. For example, Chamberlain’s video tutorials show the above steps for the 953EV and 950ESTD remotes corresponding to yellow Learn button openers, and similar videos exist for universal remotes. Official manuals (often available as PDFs) include diagrams of remote and opener Learn button locations for additional guidance.
By following the above steps, you should be able to program the 953EV, 950-series, or KLIK3U Chamberlain remotes to your garage door opener. Always exercise caution when climbing a ladder to reach the Learn button, and if needed, have a second person spot you. Once programmed, test the remote from a reasonable distance and enjoy the convenience of your garage door opener responding to your new remote control!
Sources:
- Chamberlain Support – Learn Button Location Guide – Learn how to find the Learn button on your Chamberlain opener (usually above the antenna wire), including button color meanings: green, red/orange, purple, or yellow.
- Chamberlain 950CB Remote Manual – Programming Instructions – Step-by-step instructions for programming the 950CB remote using the Learn button method.
- Chamberlain 3-Button Remote (953EV) Programming by Learn Button Color – Official diagram showing how many times to press the remote button based on your opener’s Learn button color.