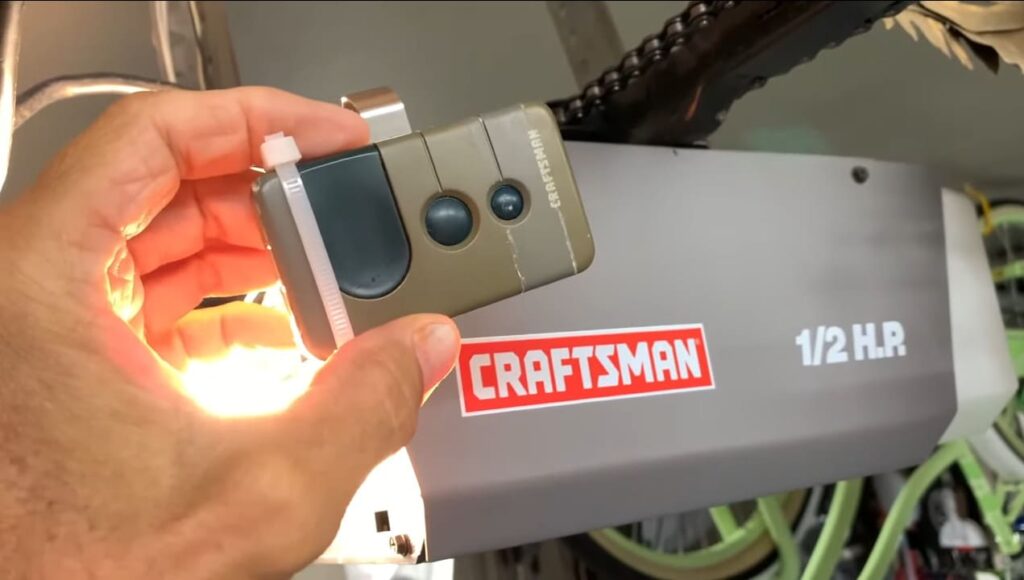
Programming a Craftsman garage door remote is a vital step in getting your opener running properly whether you are replacing a lost remote or configuring a new system. Fortunately, the process is usually quick and easy—if you know what kind of opener and remote you possess. Each configuration has its own procedures from modern devices with a Learn button to older DIP-switch systems, and even universal or built-in automobile remotes like HomeLink. This article will walk you through all the programming techniques depending on your Craftsman system, thereby enabling your garage door to run in only a few minutes.
Programming a Craftsman Garage Door remote With Learn Button
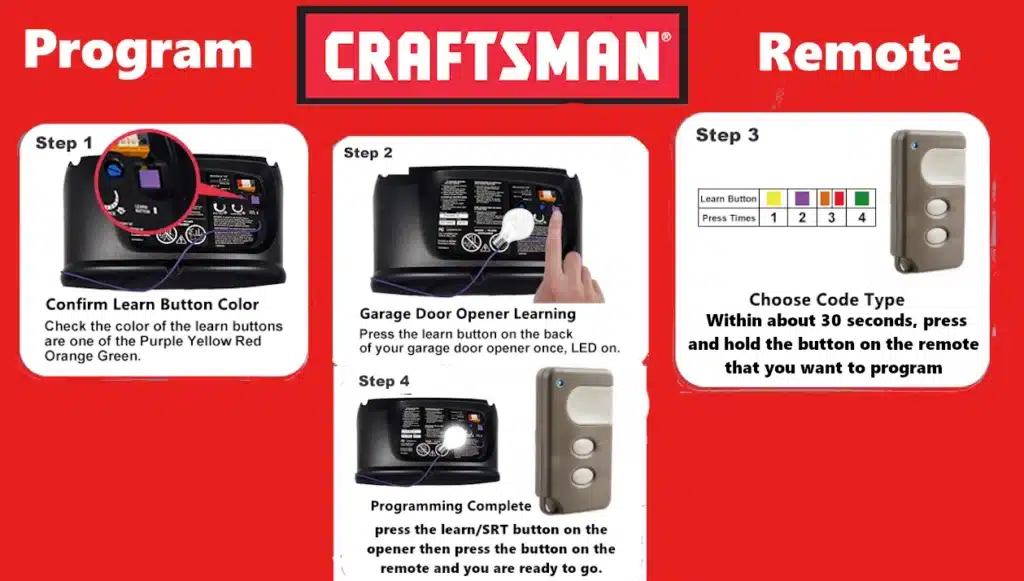
For any Craftsman opener with a learn button (green, red, purple, yellow), the basic programming steps are:
- 1) Press the Learn button on the opener (usually found on the back or side of the motor unit, sometimes under a light lens). The learn LED will light up (or blink, depending on model) to indicate the opener is in programming mode.
- 2) Within about 30 seconds, press and hold the button on the remote that you want to program. Release the button when the opener’s lights blink or you hear a click – this indicates the remote was successfully learned.
On Security+ units, the opener light often blinks once to confirm. On Security+ 2.0 units, you might need to press the remote button a couple of times to complete programming. Once the confirmation blink happens, test the remote: pressing it should activate the door. (If programming a second remote or button, repeat the process for each.) This procedure is summarized by one seller as: “press the learn/SRT button on the opener then press the button on the remote and you are ready to go.” It’s that simple for most units.
Video How to Program a Craftsman Garage Door Remote ?
Programming a Craftsman Garage Door Remotes with DIP Switches
These units do not have a learn button. Instead, they have a set of physical DIP switches either on the opener or on an external receiver and inside the remote. To program these, you must set the switches in the new remote to match the opener’s switches. Open the remote’s battery compartment to access its DIP switches, and set each switch to the identical UP/DOWN pattern as the switches on the opener’s receiver (or the old remote). There may be 8, 9, or 12 switches depending on the model.
Once they match, the remote should operate the door (no “learning” process is needed since it’s a fixed code).
Tip: Ensure the switches align perfectly and that the remote battery is fresh; DIP remotes often use a 9V or 12V battery which must have full voltage to transmit the code properly.
Programming a Craftsman Garage Door universal remote
Programming a universal remote can involve an extra step because they are designed for multiple brands. There are two common methods:
Program a Craftsman Universal Remote Using the Learn Button:
Many modern universal remotes (like the Chamberlain Clicker KLIK series or the G953EV-P2) actually allow you to use the same learn-button procedure as above. For example, to add the Clicker to a Craftsman opener, you press the opener’s Learn button, then press the universal remote’s button a number of times until the door activates, and then press a different button to lock in that code.
The remote’s manual will specify the exact sequence. Newer Chamberlain universal remotes have a simplified process where you press the remote’s button until the opener light blinks, etc., making them fairly easy to program without cutting any wires. Always consult the instructions – they often have you press and release the remote in specific patterns or use a reset button on the remote to enter programming mode.
Programming a Craftsman Universal Remotes by Brand or Code
Some universal remotes (or built-in car remotes) may ask you to input a code or cycle the remote based on the opener brand and year. For example, an older universal remote might have you press and hold two buttons until an LED flashes a certain sequence, then press one of several preset “brand” buttons (or press the main button a number of times corresponding to the brand) until the door responds.
This essentially tries different code algorithms. Once the door opens, you would press a program/confirm button to store that setting. Again, refer to the universal remote’s manual – the good news is Craftsman (Chamberlain) is a major brand, so virtually all universal remotes include support for it, often under “Chamberlain/LiftMaster/Sears Craftsman” grouping.
Built-in Car Remote (HomeLink) Programming:
Though not a handheld remote, it’s worth noting how to program a car’s HomeLink to a Craftsman opener. Generally, first clear the HomeLink (if it’s used) by holding the two outer buttons until the LED flashes. Then, hold the Craftsman handheld remote a few inches from the HomeLink button you want to program, press and hold both the handheld remote button and the car’s button. The car’s LED will change (usually start flashing rapidly) once it “learns” the remote’s code.
Then, to sync it to the opener, you press the opener’s Learn button and within 30 seconds press the programmed HomeLink button in the car. The opener should blink to confirm. After that, the HomeLink button should activate the door like a normal remote. (For Security+ 2.0 yellow learn openers, older HomeLink in cars older than ~2011 might not work – you’d need a repeater bridge device in that case.) Detailed steps can vary, so see your vehicle manual.
After Programming Your Craftsman Garage Door Remotes
test all remotes to ensure they work. If a remote does not pair, double-check that it’s the correct type for your opener (frequency mismatch will never program). Also ensure the opener’s capacity isn’t exceeded – most Craftsman openers can remember about 5-8 remote devices (including keypad entries). If you cannot program a new remote, the memory might be full; you’d need to clear the opener’s memory and reprogram devices (see Troubleshooting section below).