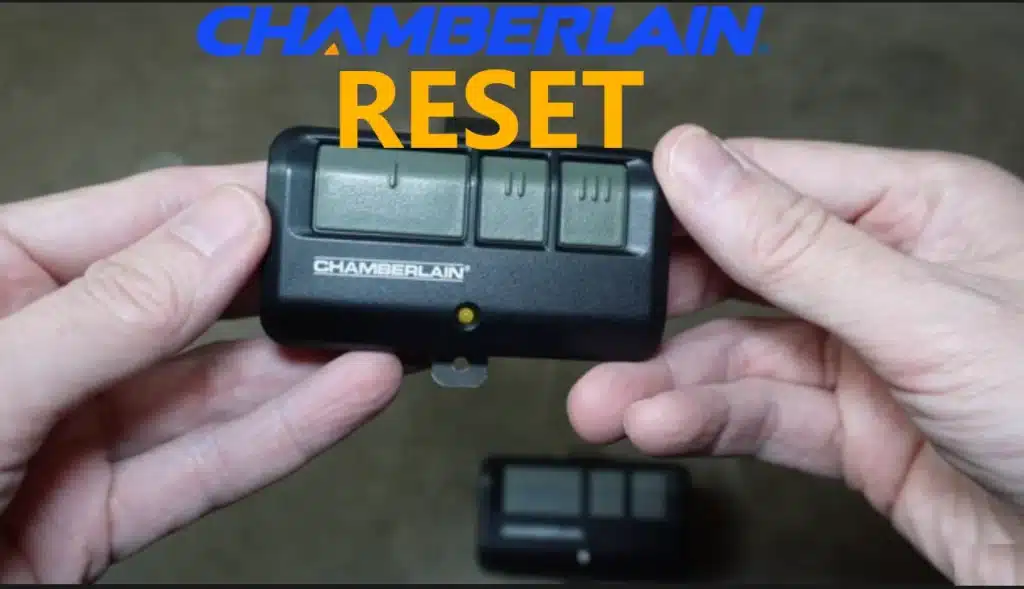
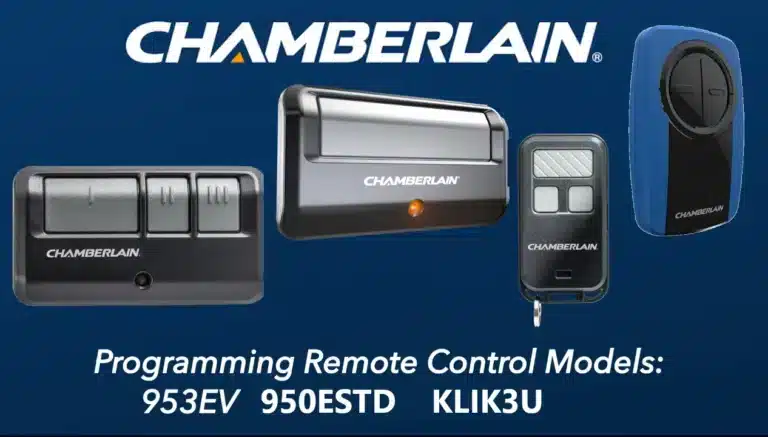
It might look like a lot of work to reset your Chamberlain garage door opener remote, but it’s really not that hard once you know the steps. This guide will show you the right way to restart and program your Chamberlain remote, whether you need to fix a broken remote, add a new one, or take away access from a lost or stolen device.
Reset a Chamberlain Garage Door Opener Remote
People often need to reset a Chamberlain garage door opener remote for a number of reasons. Security is one of the most important. If you lose or steal your key, someone else could use it to get into your garage. Resetting your door makes sure that only approved remotes can open and close it. One more reason is when the remote won’t work with new batteries. Sometimes, all it takes to get things working again is a simple reset. Lastly, clearing the old settings lets you start over if you’ve moved or upgraded your gear.
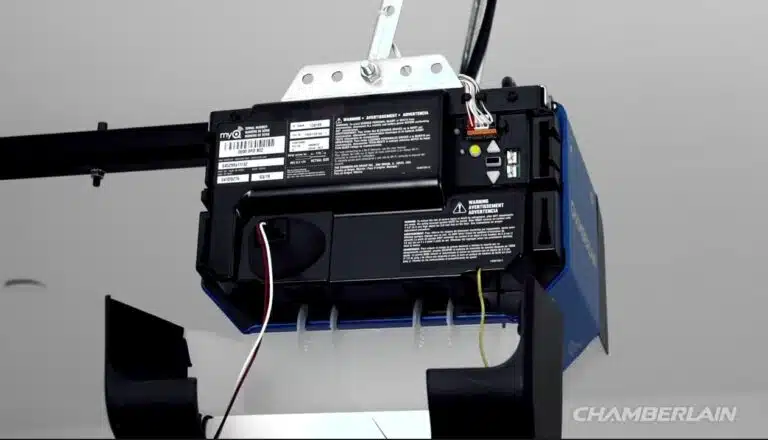
Located Learn Button On Chamberlain Garage Door Opener
How to Reset or reprogram your Chamberlain garage door opener? The Learn button is the most important part. The Learn button is on the motor unit that is attached to the ceiling. It can be yellow, purple, red, or orange. Sometimes it’s on the back or side of the unit, behind the light cover, or close to the radio wire. This button has power over your opener’s memory and lets you set up or delete remotes and keypads.
Before you start the reset process, make sure you have a safe way to reach the motor unit and that you know what color the Learn button is. That will tell you what kind of remote you can program and how long you need to hold the button down to reset it.
Reprogram chamberlain garage door remote
If your goal is to simply reprogram a working remote or add a new one without deleting other remotes, a soft reset will do the trick. This method lets you sync a remote to your opener without wiping out previous settings.
Press and let go of your garage door opener’s Learn button to start. When you press it, the light next to it should come on to show that the opener is ready to connect to a remote. Once you’ve pressed the Learn button, hold down the button on the remote that you want to set for 30 seconds. Do not let go until you see the light blink or hear a clicking sound. This shows that the remote has been set correctly. Now that the remote is ready, press the button to see if the door opens or closes.
This method is useful if you’re adding a new remote, replacing a faulty one, or syncing additional devices without affecting the current setup.
Erasing All Chamberlain Garage Door Remotes
If you’re concerned about lost or stolen remotes or if you want to clear all existing programmed remotes and start fresh, you’ll need to do a full reset of your Chamberlain garage door opener. This method erases all stored remotes, keypads, and wireless entries from the opener’s memory.
Start by locating the Learn button on your opener. Instead of pressing and releasing, this time you’ll press and hold the Learn button for about 6 to 10 seconds. The LED light will either turn off or blink, indicating that the memory has been wiped. You’ll often hear a click, confirming that the reset was successful.
After this reset, no previously programmed remotes or keypads will work. You’ll now need to reprogram every remote and keypad individually using the reprogramming method described earlier. This is a crucial step for maintaining security, especially if someone else previously had access to your garage.
Resetting chamberlain garage door wireless keypad
If you use a wireless keypad to access your garage, don’t forget to reset and reprogram it after a full system erase. The process is similar to reprogramming a remote.
Press and release the Learn button on your opener, then, within 30 seconds, enter a new 4-digit PIN on the keypad and press the Enter button. You should see the garage light blink or hear a click, indicating that the keypad has been successfully programmed. Always test your new PIN to ensure it works properly before relying on it for regular access.
Troubleshooting Remote Issues After Reset
In some cases, even after resetting, the remote might still not work. Before assuming it’s broken, go through this quick checklist:
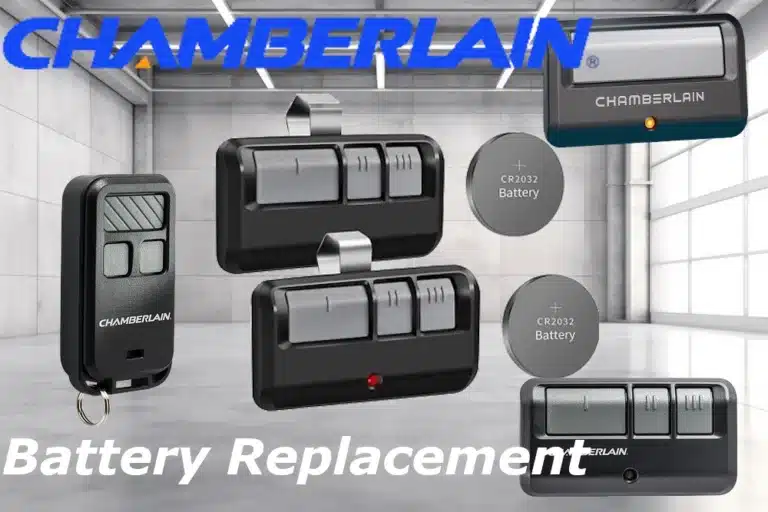
- Check the battery: Weak or dead batteries are the most common cause of unresponsive remotes. Replace them even if they appear fine.
- Stay within range: The remote should be within 20-30 feet of the opener during programming.
- Avoid interference: Wireless routers, LED lights, or metal objects near the opener can cause signal disruption. Try moving them away temporarily.
- Match remote type with Learn button: Some remotes only work with specific Learn button colors. Double-check compatibility before programming.
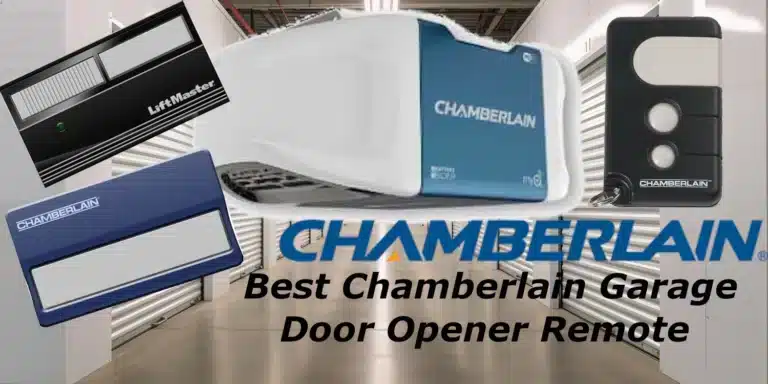
If you’ve verified everything and the remote still doesn’t work, it may be faulty. Consider replacing it with a compatible Chamberlain remote.
Signs the Reset Was Successful
After reprogramming or resetting, how can you be sure it worked? Look out for the following signs:
- The garage door light flashes when programming is successful.
- You hear a clicking sound from the opener when the remote is paired.
- Old remotes no longer work after a full memory erase.
- The new remote responds consistently to open and close commands.
It’s a good idea to test each device a couple of times after programming to ensure everything functions smoothly.
Safety Tips While Resetting
While resetting is simple, safety should always come first. Use a stable ladder to access the opener unit, and avoid working alone if possible. Make sure the garage door area is clear of pets, kids, and vehicles during testing. If you’re unsure about the process or if your opener is mounted high or in a difficult spot, don’t hesitate to contact a professional.
Also, if your Chamberlain opener is connected to smart home apps like myQ, keep in mind that resetting the remote doesn’t affect the app. You’ll need to manage app access separately through your account settings.
Final
Reset a Chamberlain garage door opener remote is a basic but powerful way to regain control of your system. Whether you’re doing a quick reprogram or a full system reset, understanding how to use the Learn button gives you confidence to manage your garage’s security and functionality. It’s always a good idea to keep your system updated, especially after a move, a security concern, or a malfunction.
With just a few minutes of your time and a simple step-by-step approach, you can reset your remote and get back to using your garage with ease and peace of mind.

